Revell North Cormorant Oil Rig-01
In 2008 I picked up the early version of this kit as a change to my normal model kits & looked like a good model to build, but on opening it up the instructions are the most unusual I have seen for a while. They show all the parts for each “Module” in turn & have got a very unusual way to show the part numbers. When you have built the modules, it then shows how to fit the whole lot together at the end.
The main problems I think if you do it this way are :-
1) No actual stages in each module to make sure parts will fit
2) Poor description for parts in each module
3) Cannot align the walkways or rails from one module to another when model is complete
4) Small parts might get damaged when you try to fit the completed modules
This is why I will not be following the instructions to the letter, but only as a guide.
All the first 5 modules will sit on this base structure, so it is a good idea to get this part built solid & level to start with. I glued the main 4 sections of the base (parts 1,2,3 & 4) together & with a small amount of weight on top to get it to sit with the legs flat against my work surface. Doing this meant that when the modules are glued to this all the upper sections will also be level.
When this had dried I fitted in the support beams & the side legs (parts 5 & 6) & allowed then to dry. These then needed a bit of filling & sanding to get rid of the joins.
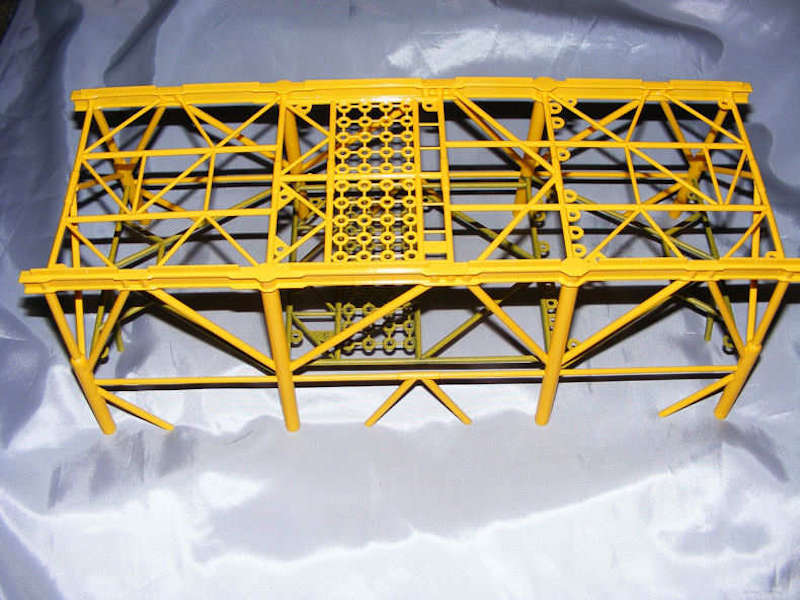
Now comes the painting stage. The top 2/3rds of the base are meant to be yellow & the best one I could find back in 2008 was “Broom Yellow” from Halfords. The whole top section was sprayed & allowed to dry
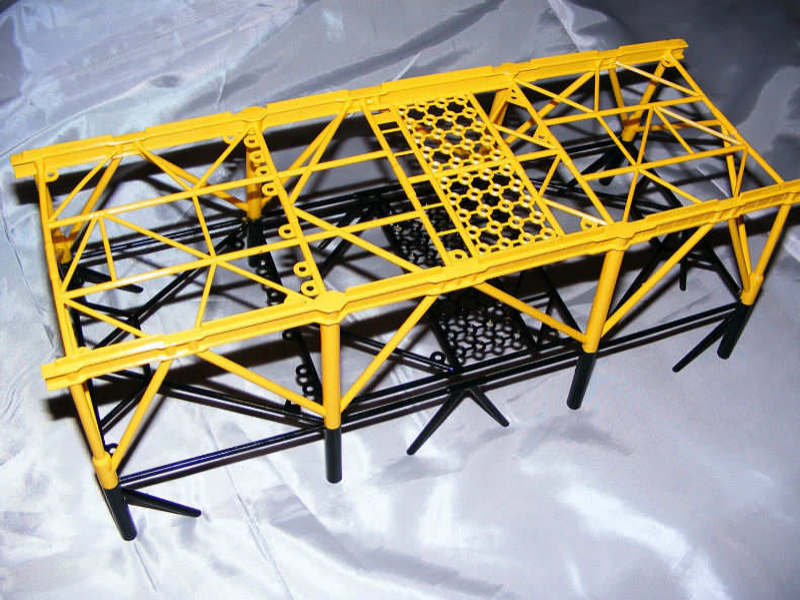
From where the lower frame was glued (part 3) it is meant to be black. I could have sprayed this, but as this area would be affected by water & would not be a perfect finish & decided just to mask off each of the legs & then used a brush & Humbrol Satin Black to paint this section.
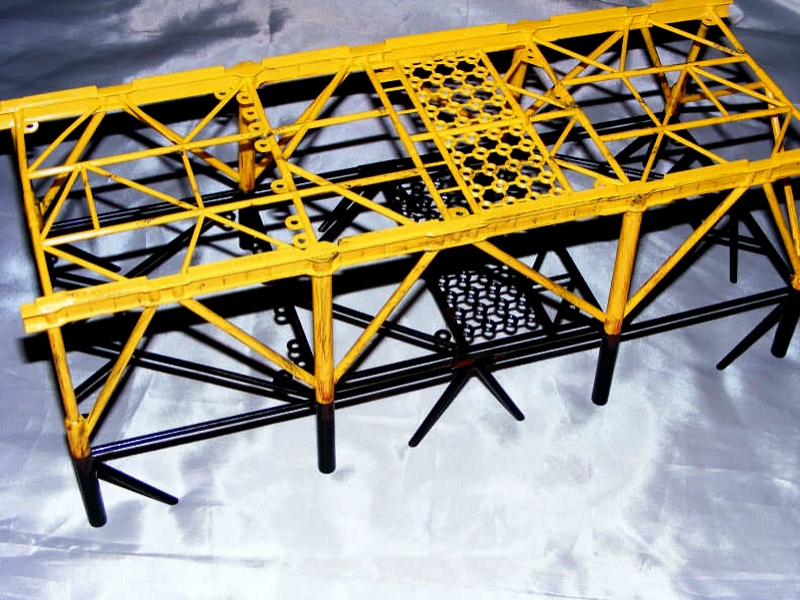
As you can see this section now looks nice, clean & a slight shine, but hold on, that’s not right. Since when has an oil rig sitting in the sea looked so clean? NEVER.
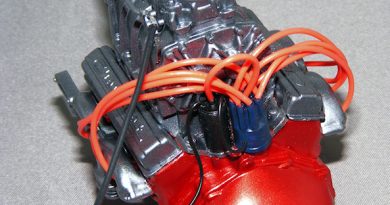
It’s now time to do some weathering. I had thought about how to do this & with not doing a lot of it in the past I could use this kit to get experience of using some weathering powers I got from my local show in February. The two I got were “old rust” & “smoke black” from MIG Pigments. Looking up on the net there are many ways of fixing them & I chose matt acrylic varnish as a medium. This is so I can mix & thin this to any thickness. The first one I used was old rust & this was mixed quite thin & then with a soft brush or edge of a cotton bud streaked it on & around where the sea water spray would catch on the main legs & then run down & also a small bit on the top frame where the water would drip down from the modules. When this had fully dried I made a slightly thicker mix of smoke black & this went mainly on the section where the modules join & around where the oil drill pipes went to show dirt, grease & grime deposits over time.
Now this looks a lot better & the whole section when dried was put in a plastic bag to keep the dust off till needed a lot later on.
NOTES ON MODULE BUILD :-
Each of the modules I am classing as a small basic kit in it’s own right, then when the modules are glued to the base & all the small parts, walkways, ladders are fitted they will up join up and look correct.
Each of the modules will be built a similar way, to a point, and then left till after they are glued to the base for final work…
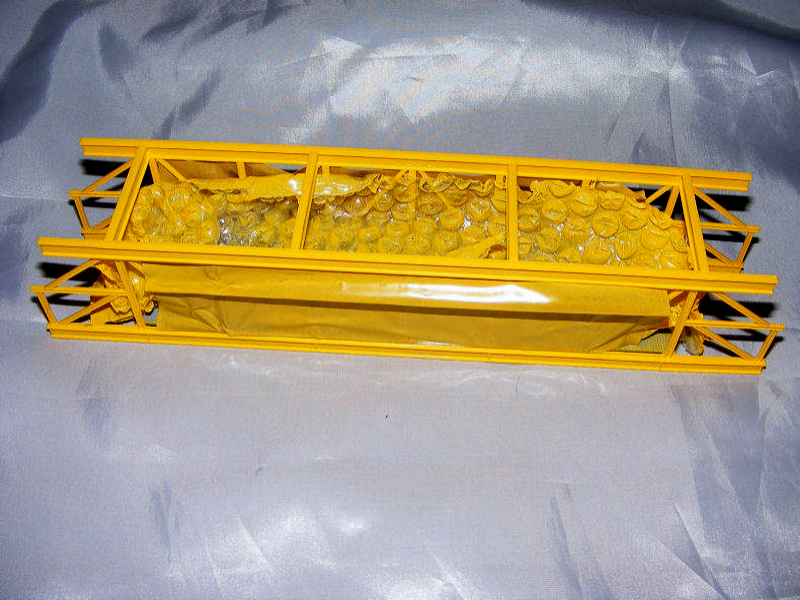
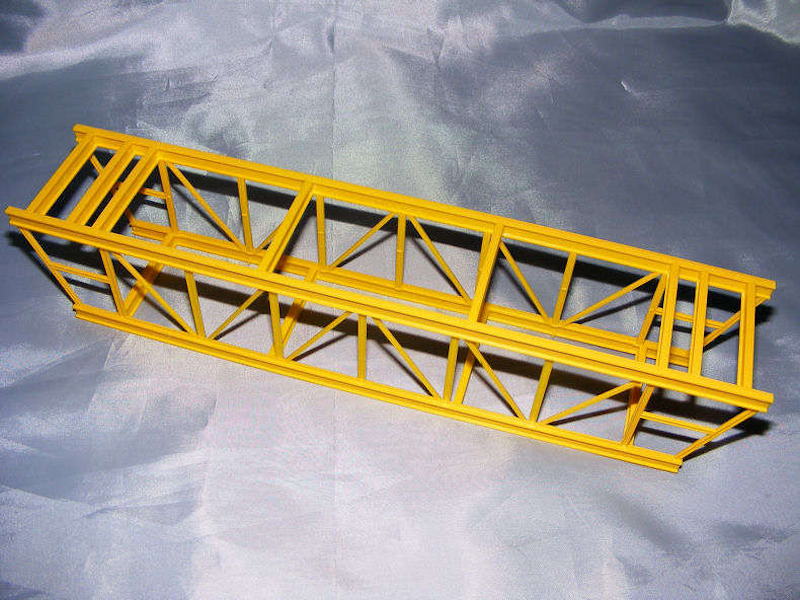
For the outer frames for modules 1,2,and 3, again the instructions are not too great, but the modules are made from a set of girders sections (parts M1, M2 & M3x2) & then 8 beams ( part E) go across each one. With two inner floor levels & then an outer skin, this gives you a box shaped module where all the walkways & parts will be attached to.
The best way I found was to first glue just one “M” side at where the 8 beams join, fix each beam in place with glue till it just holds in place under its’ own weight, then to rest the other “M” beam on the other end of the E beams so they line up & then hold it together with tape while that one side fixed solid & only when this was done, glue the other “M” beam in place.
I used tape & not clamps so it would not put too much tension on the frame when drying & when you use tape you can position it at angles if you need to get parts to align. I used Revell “Contacta” for this job as it sets the parts quite quick to say a stage where it will stay unsupported, but still allow some movement before becoming fully solid overnight.
At this stage I thought it best to spray the whole frame in “Broom Yellow” before moving on to the inner sections.
To help in later stages I masked off where the outer skin was going to go & also some inside area where the floors will be sitting.