Revell North Cormorant Oil Rig-02
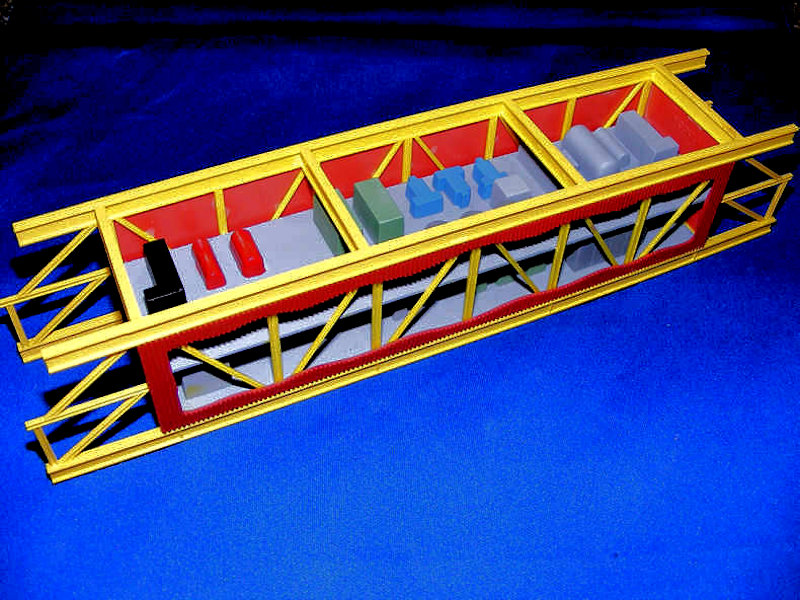
Now it’s time to start on the inner floors. I know absolutely nothing about what the inner working of this rig look like as I could not find any interior pictures on the net or in books, so I had to use the colours given by the instructions, which I know are no where near what they should be. Defiantly if I build another I will do this differently and add more detail, but I did this back in 2008 and my skills have progressed luckily.
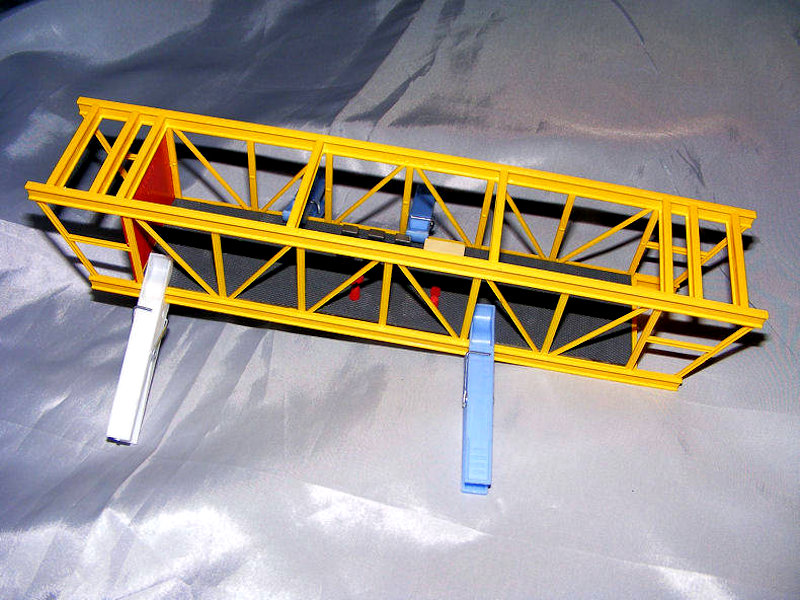
For these 3 modules all the floors were sprayed in a base grey primer to simulate a painted floor allowing me to leave them as they were or to do them in another colour if I wish.
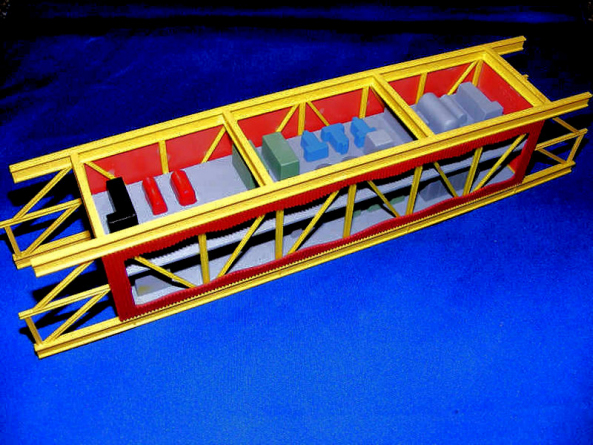
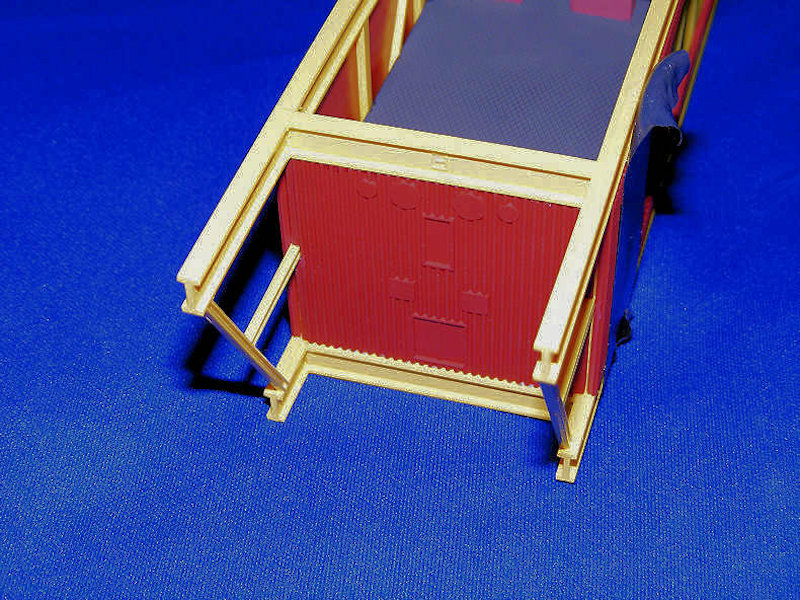
Now here I have to use the instructions & now think I should have gone with more neutral metallic colours or various grey shades. The paint colours given are blues, greens, yellow & they also mention white. The inner sections are also very blocky in design & I think are just there as a representation of the interiors, so I just tried to do my best here.
As mine will be glued so the modules can’t be removed, nobody will actually see my errors.
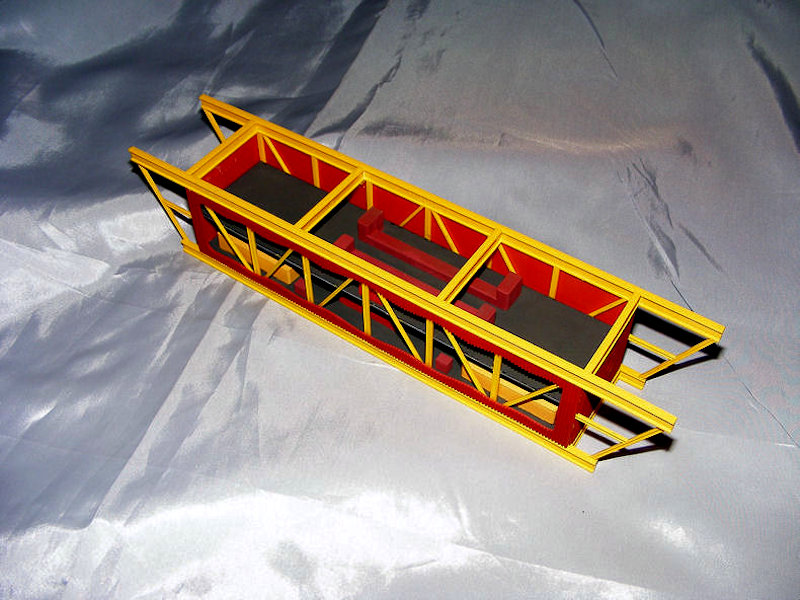
To help with the floors fitting in the correct place I primed and glued just one end piece of the outer module walls to act as a stop, and an extra point for gluing.
The floors can be slid into the completed modules & they sit on small lugs as the glue points. I found that if you glued the bottom one in first it helped with firming up the module & then just fit the upper floor.
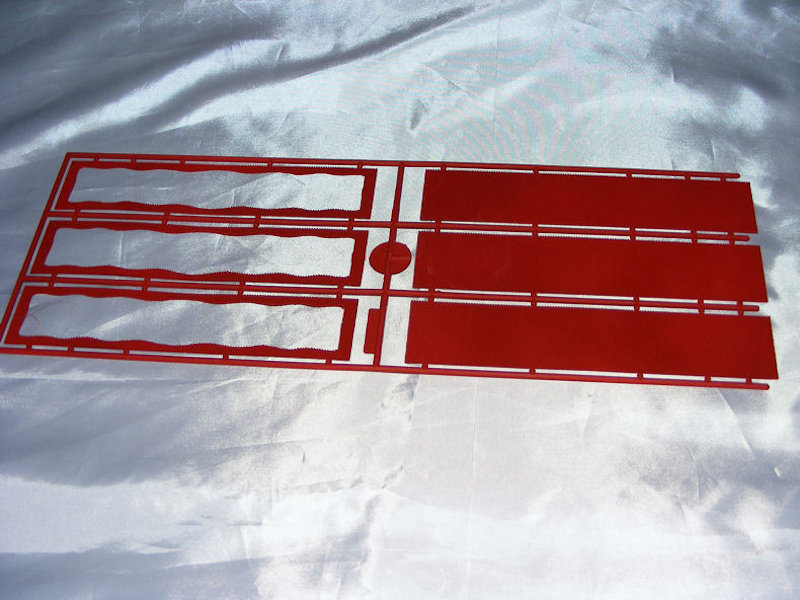
The outer skin of the modules is meant to be a base red & the best match was just plain old Halfords red primer. All the surfaces were sprayed with this & allowed to dry.
The outer skins were glued in place and held in place while drying.
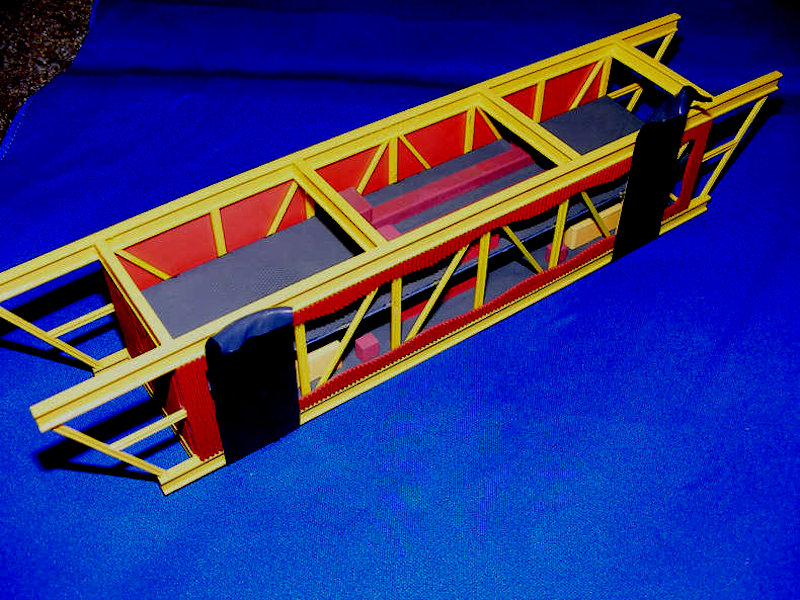
Well, that was the basic build of the modules finished. These were put in bags ready for fitting to the base later.