Revell Babylon 5 Starfury-01
Made this early Revell version back in 2016 and it looked very easy to build as it only has a few parts, but looks can be deceiving. The work involved is in the filling of gaps, poorly designed and ill fitting parts meant a lot of work and modification to some parts.
When all the work is done, you will get a very good looking model.
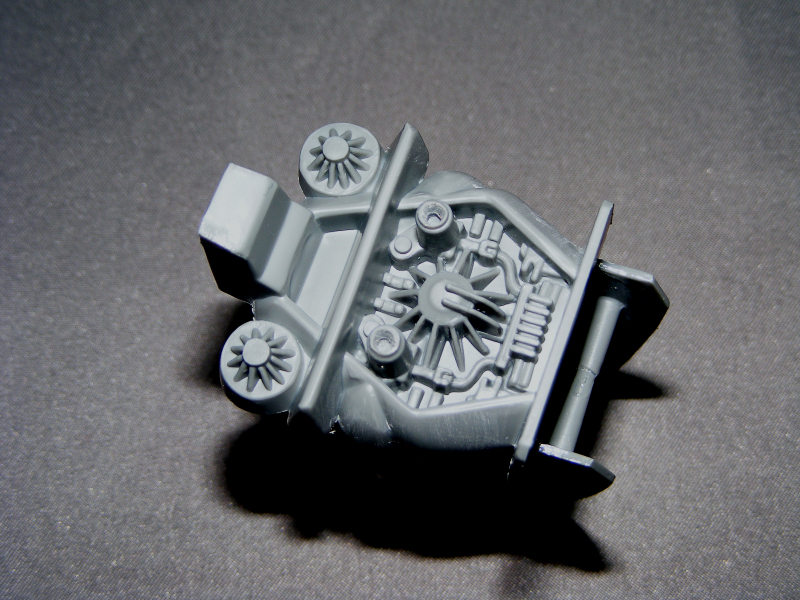
Starting on the fuselage it’s a simple stage of gluing the two halves of the fuselage together, allowing it to dry, then glue the rear section on, allow to dry. Like with mine you may find that there is a gap between the rear and the sides, so out with the filler, then sand it down.
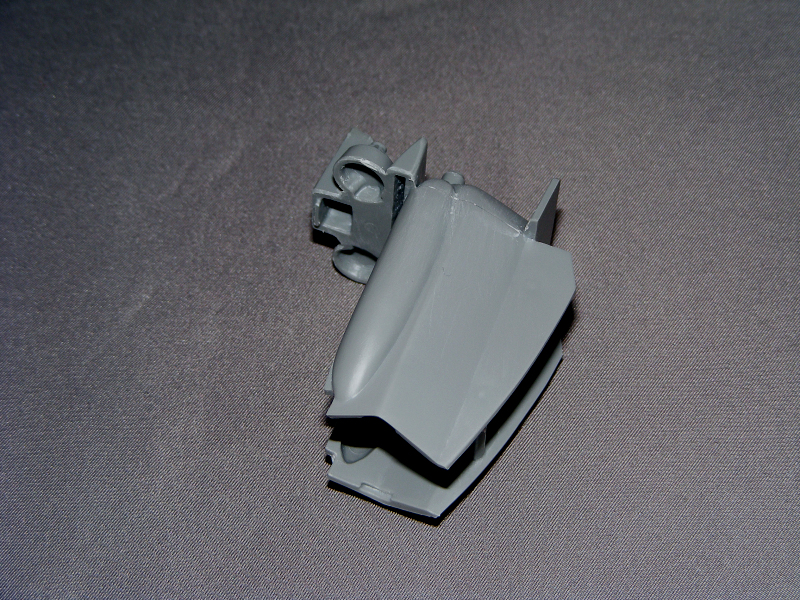
The make the model more accurate, you can drill out the two rear gun port barrels about 3mm deep instead of the solid original moulding.
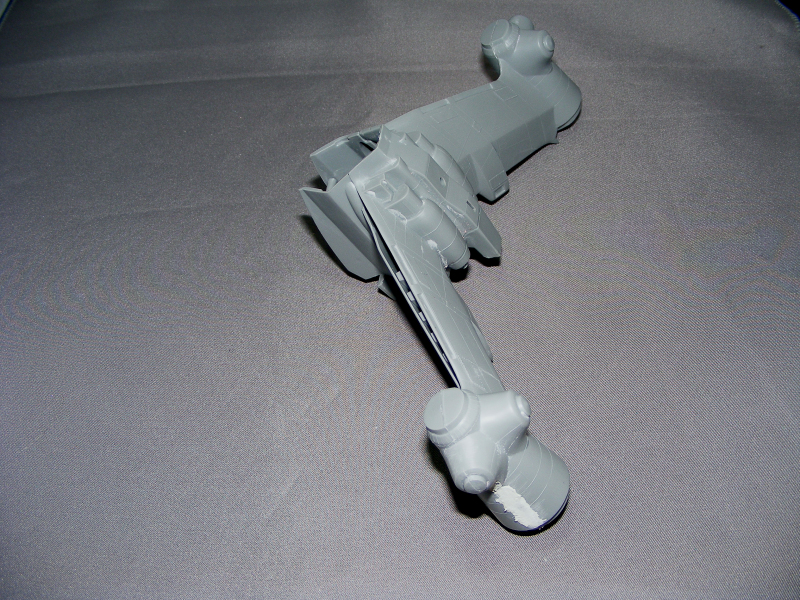
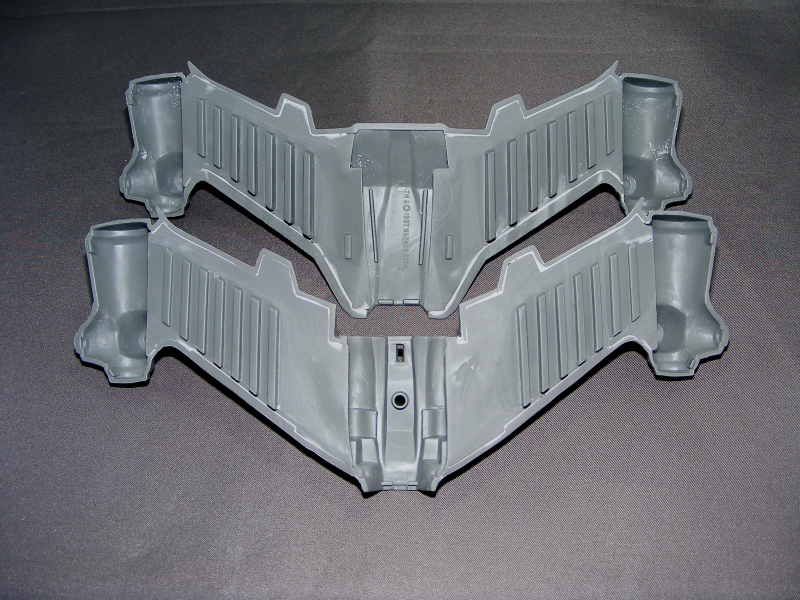
Now it’s time to start on the inner wing sections, and I found it easier to do both the wings at the same time, so I glued the inner sections to the upper and lower wings.
There is no way around saying this, as the fit is awful. No matter how hard you try there will be a gap as the profile is too narrow, so to minimize the work it is better to have an even gap that can be filled with putty than have to fill one large gap with card & then still have to use putty.
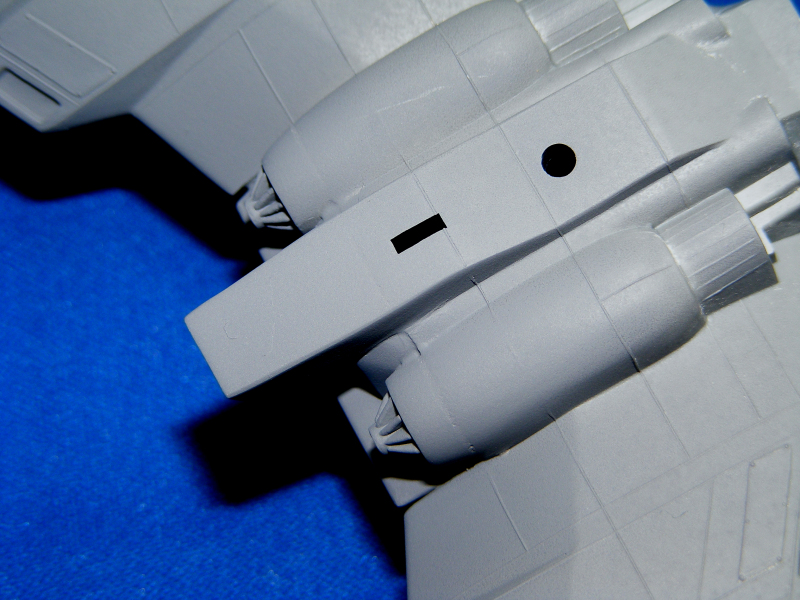
The next job was to fit the fuselage to the lower wing assembly. Again fitting is not great so had to fill in the gap between the rear section & the wing. After the first stager of filling & sanding I gave the area a light spray coat of grey to see how the joint was & to show where I needed to fill any other holes or gaps.
Very easy stage this one as it is just a case of gluing the other wing pieces to the section made earlier. I found that a small amount of glue on the top of the raised pieces held down with clamps allowed the wings to sit at the correct profile, and not have any gaps.
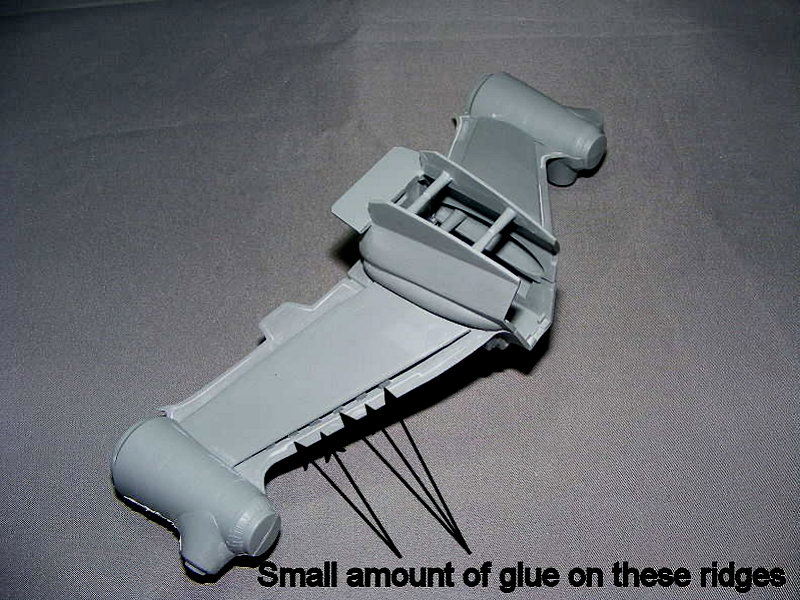
When dried I filled in the gaps where the main engines join.