Lindberg 1/8 scale Exterminator dragster-02
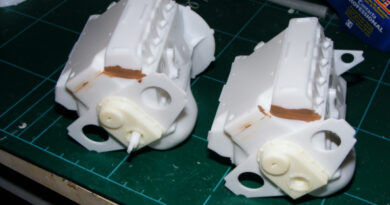
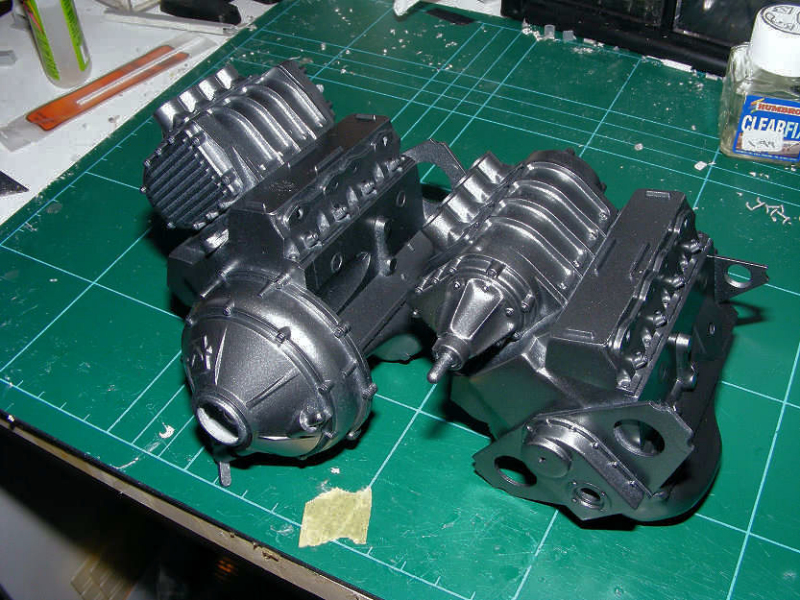
To stay chromed or not to chrome? As I am going to leave headers & belt covers in chrome I though there would be too much, so using diluted bleach I de-chromed all the parts of both superchargers & glued them both at the same time. No filler was needed on them.
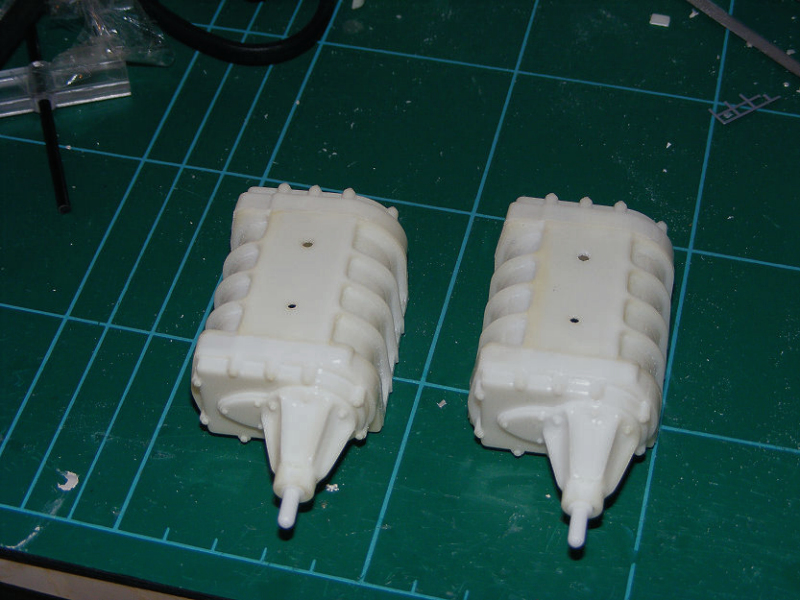
The rear engine has the clutch housing & an arrangement for connecting the drive from this motor to the drive shaft in the rear gearbox/differential. As my version will not be motorised it won’t be needed, but is a fair amount of work to fill in the holes & then later work on the body, so I left the clutch function in. I found it best to glue both parts of the universal coupling before you start.
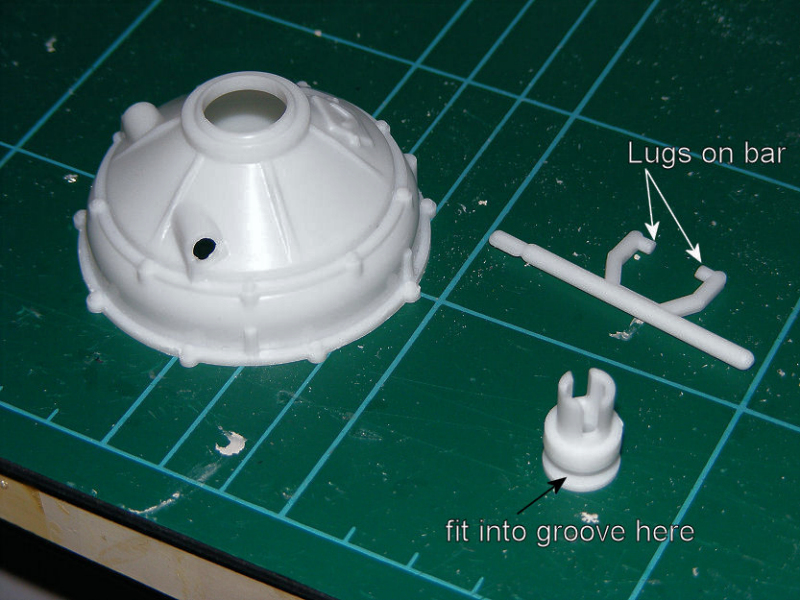
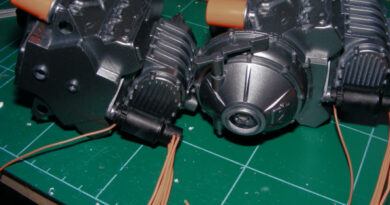
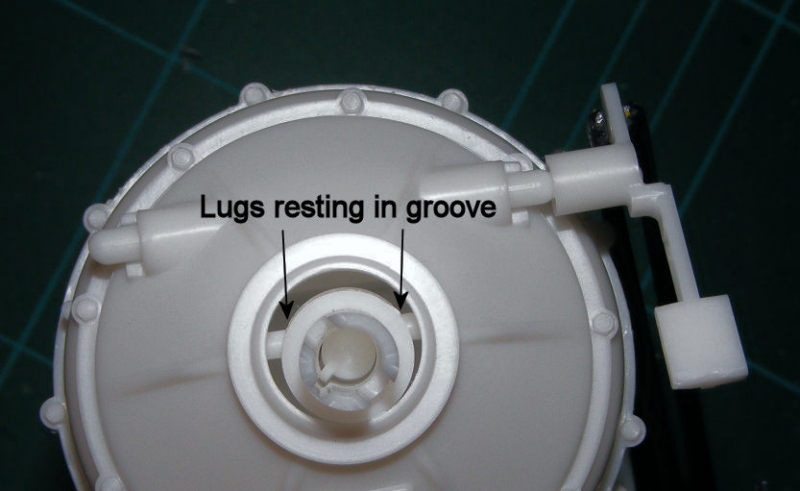
I then fitted the bell fixing ring to the rear of the engine. The bar goes into the bell housing & coupling sits between 2 lugs on the bar. I found this was then easy to glue the assembly to the bell plate allowing the universal joint to move. A small lever was then glues to the shaft coming out of the clutch.
The superchargers were then fitted to both engines.
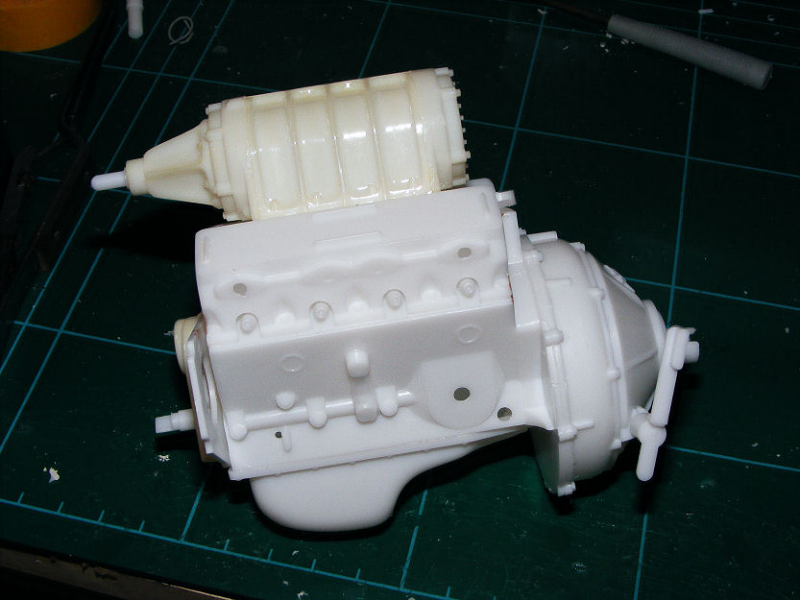
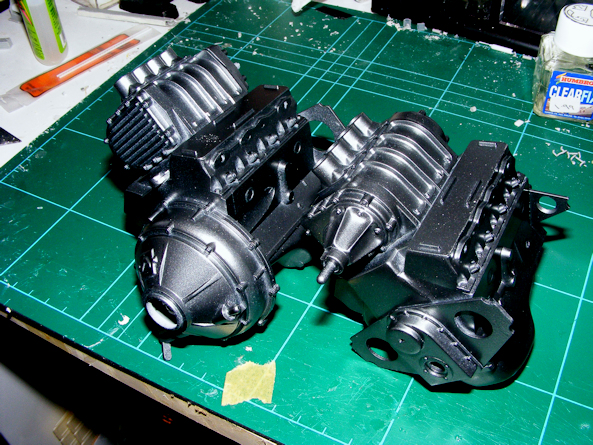
I then fitted just the bases for the oil filters (93s & 102s) and the air inlets on the top of the superchargers. These engines are now ready to be painted. I primed both in Halfords grey primer & when dry gave it a smoothing down before the top coat of Halfords Rover Storm Grey. Both engine were put to one side ready for more work later on….
While the engines were drying I got to work on the assembly of the gearbox/ differential. In my eye for a working dragster there was too much chrome on these parts, so all the exterior parts of the unit bar the end plate were de-chromed. The unit can be built as a working unit, so you will need to glue the gears to the main shaft & differential.
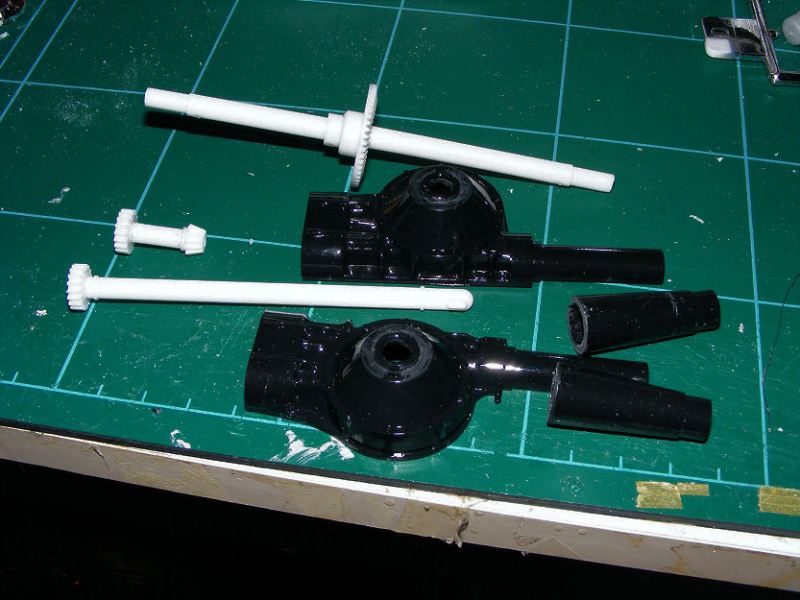
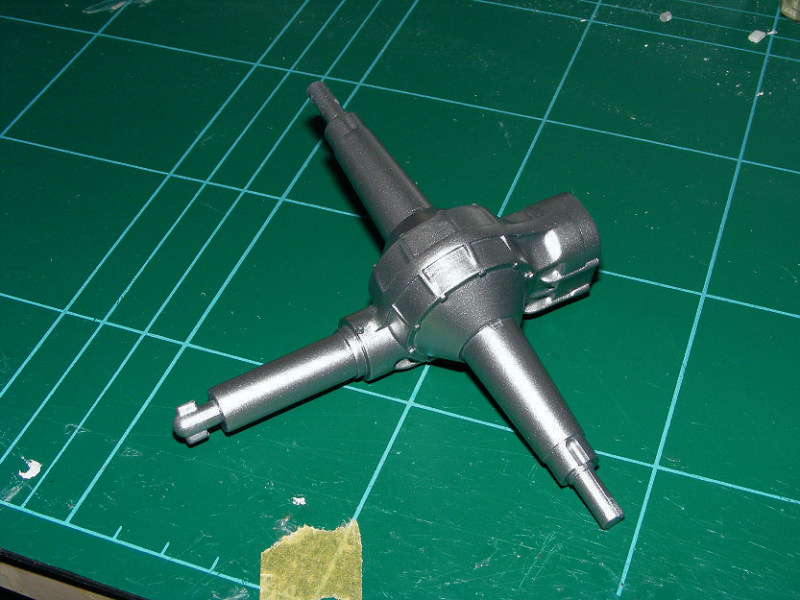
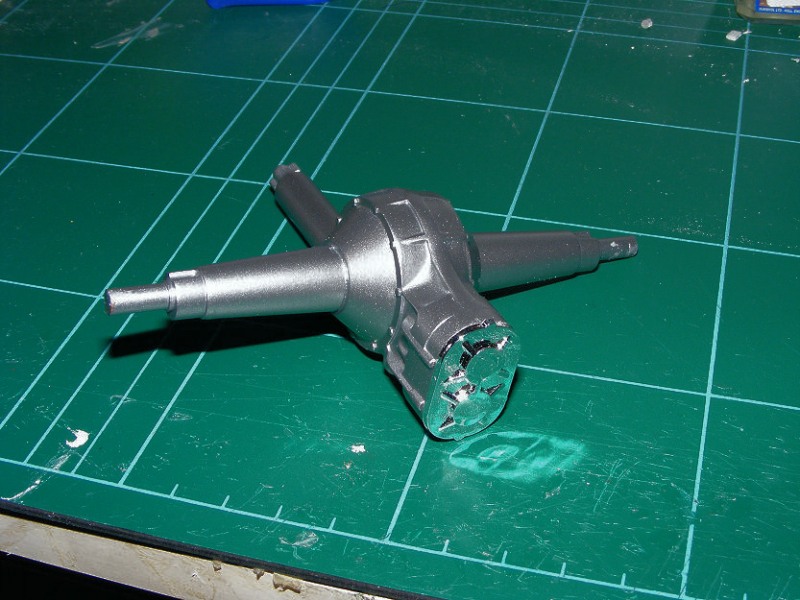
The gearbox unit was then put together following the instructions bar the end plate. I found it a good idea to every so often just check the shafts can still turn in case glue starts to set inside. The whole unit was then primed in grey primer & 2 coats of Halfords Moondust Silver gave, to me, the duller appearance of a drag gearbox but just to add some accent, the chrome end plate was now fitted.
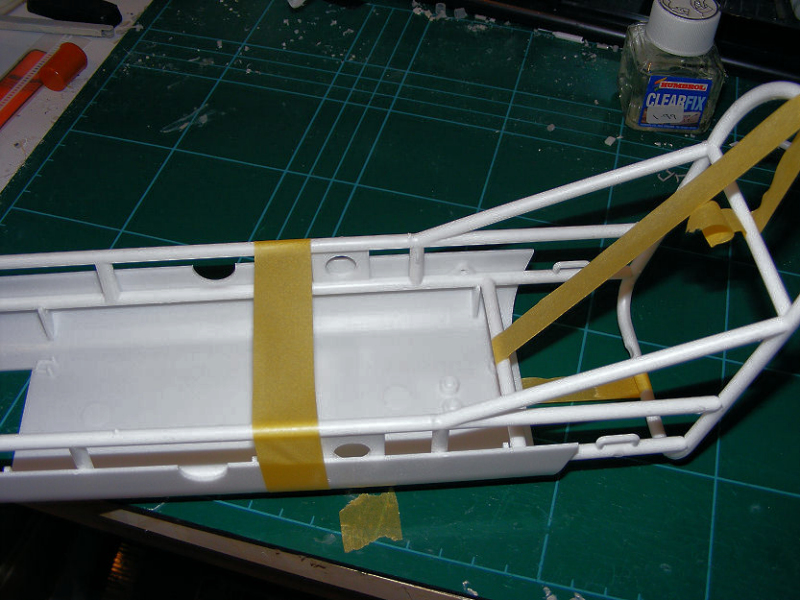
The frame is a very large piece when complete and if not glued correctly may have twists or warping that will be very obvious. A technique I use to avoid this is to glue just one main side with the cross members fitted & then when ready glue the 2nd main section to it so making a solid structure. In this kit the lower panel has got fixing lugs so you can hold the rear of the chassis in place while the cross members set.