New Star 1/6 Harley Davidson FLH Classic-02
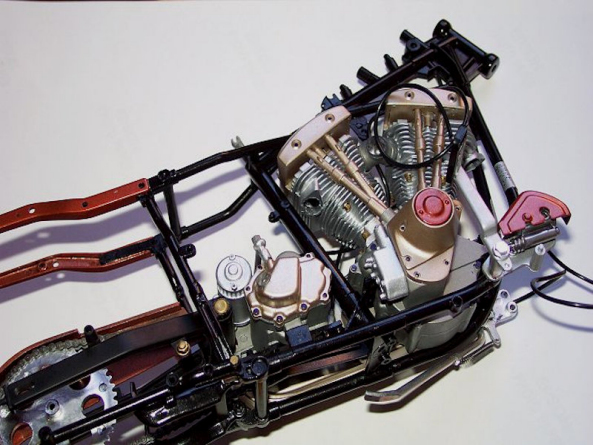
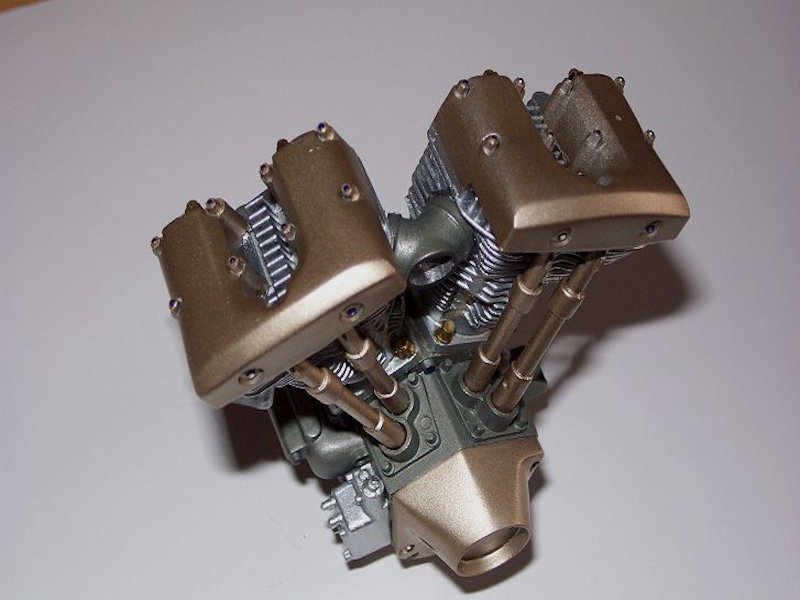
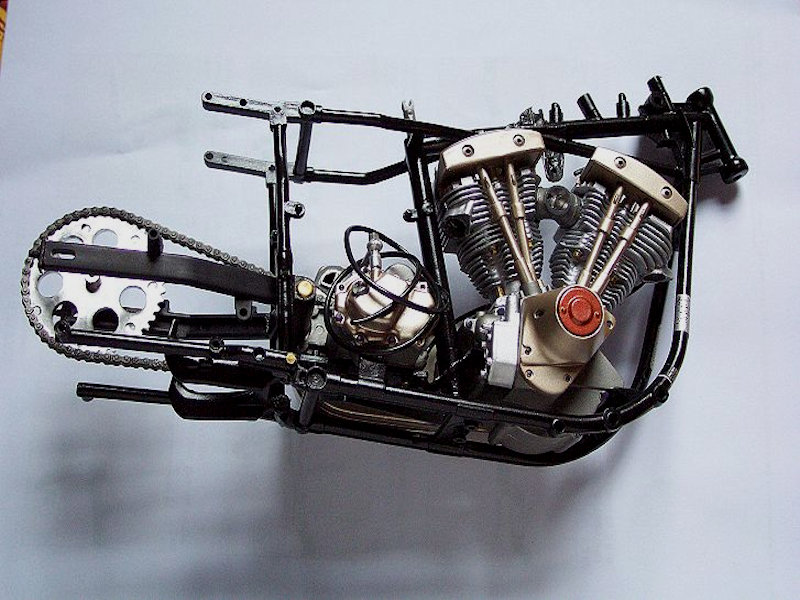
As the engine covers (Part No. L4 & L16) were going to be re-painted I built these up & put them aside & did not fit them to the part E23 & E18. I built the cylinder cases & then attached E23 & E18 to these. None of the bolt detail or spark plugs were added to the cases as this will go on after the parts have been sprayed. The crank case minus the cover & oil pump was assembled & I sanded the seam lines ready for spraying. The crank case was done in Tamiya metallic grey, the cylinder head in Tamiya chrome silver & the rocker covers & case cover in the “Halfords” sovereign gold (As mentioned in the introduction).

The push rods were also sprayed in the gold & the engine assembled. All of the bolt details were painted to help follow the theme & some of the other bolt heads were highlighted in purple.
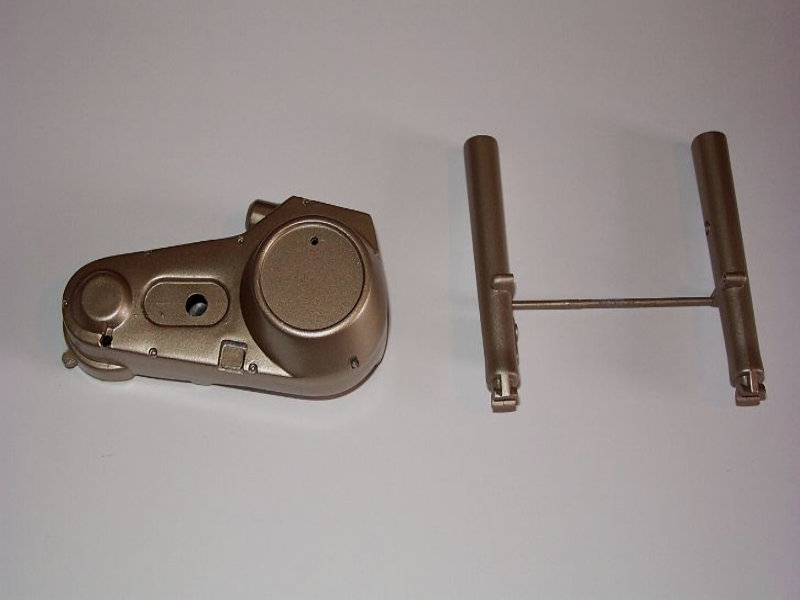
With using our chosen paint scheme I sanded off the chrome from the drive train covers & primed & painted them in sovereign gold & bright copper. The gearbox unit was painted in metallic grey & the piping fixed with a small amount of superglue.
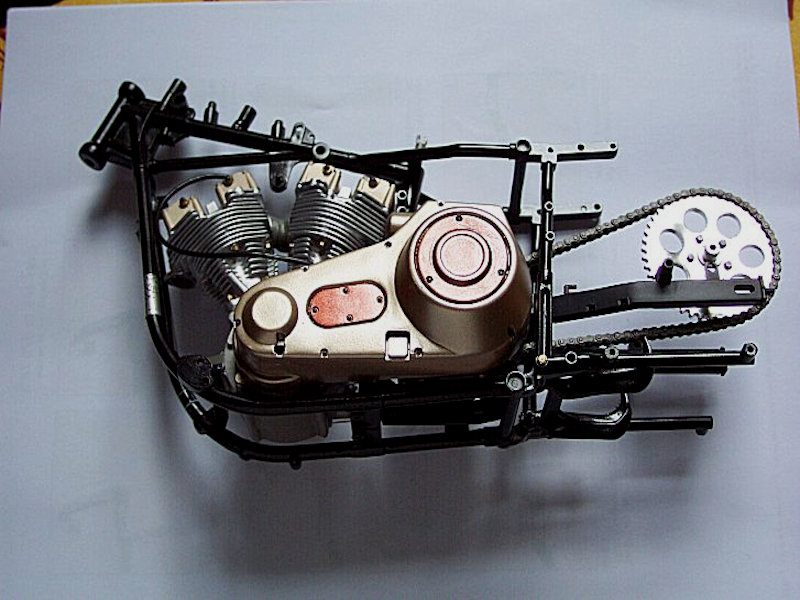
The decals were fixed on the frame & the engine mounted in place as well as the gearbox unit.
The cover (G14) was painted in copper. I would fit this unit to the frame & attach parts L23 & L33 before fitting the gearbox cover assembly you made in stage 8 as the locating pin for part L23 will be obscured.
The sub assembly section in part 10 where the stand spring is fitted caused a minor problem as you need to drill a small hole where it fixes to the arm. I used a .3mm drill so that the spring hook would fit in the stand arm. On stage 11 I had to file the inside of parts L5 & L6 to allow N11 to slide freely & it is advisable when you fit the spring to allow the glue from part D30 to set before you attach it to the pedal arm. The only difference in stage 12 is that the push rods on the engine had already been fitted back in stage 7.