Lindberg 1/8 scale Exterminator dragster-01
Back in 2009 I found on the net I found going for a good price a re-make of an early Lindberg 1/8 twin engined dragster called “The Exterminator”. Looking at the box art I think the original was early 60’s. On opening the large box I could see a mass of chrome & lots of wire/piping. Looking at the instructions these are direct scans of the original, so the pictures have lost some detail. The car can be built with one or two engine set up (my choice) I hope this guide will aid fellow kit builders.
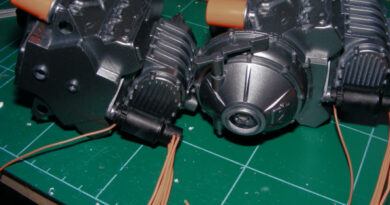
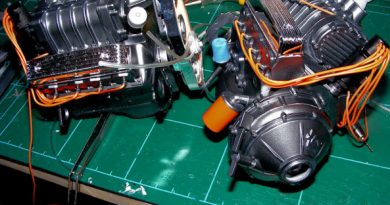
I found it best to work on both engines at the same time to save on drying time & when it comes to painting them. The rear engine looks like it was motor driven in the original & the 1st thing is to build the main drive shaft unit up. This then is glued into one side of the engine casing & the other side of casing then put on.

While this is setting I built up the front engine block which is hollow. To check that I have sanded all the gaps down I sometimes put a bit of paint on the joint before the final sanding, so that I can see if any paint left in the small crevices that still need some more filler.
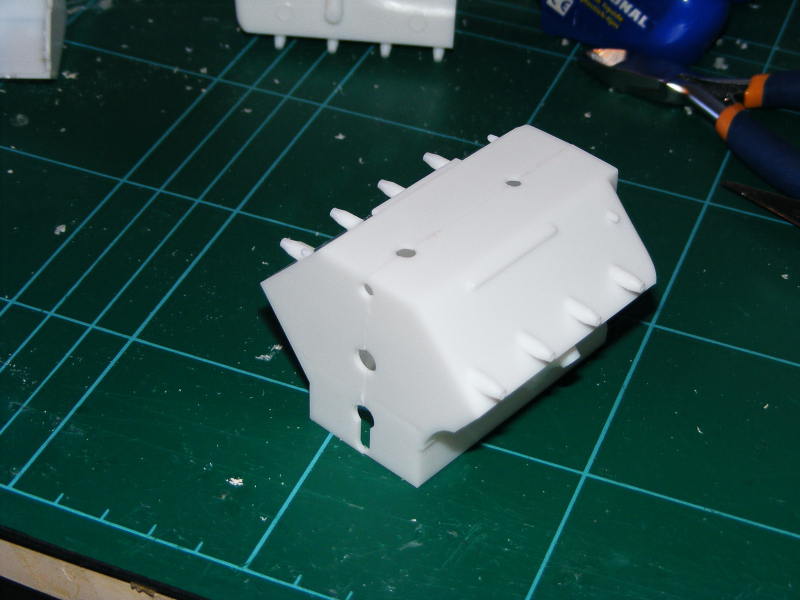
When these had dried I fitted both sets of headers. When these had dried the 1st stage of sanding was needed on the whole blocks & then the gaps filled & then smoothed down to remove the joins.
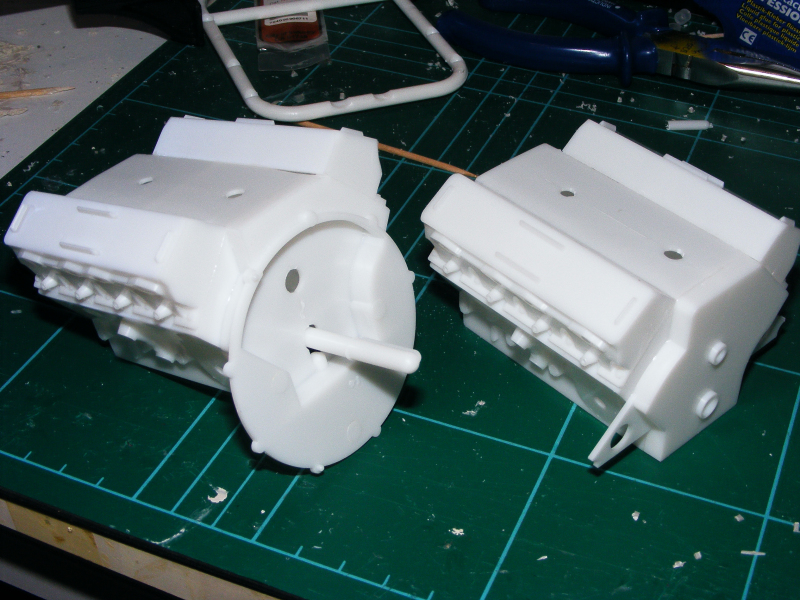
The mounting frame that go on both engines were put on & as the whole engine will be sprayed in a metallic anyway. I did one of my usual tips of painting parts where I think more sanding is needed with a single coat of visible paint hen with a very fine sanding stick rub the paint away.
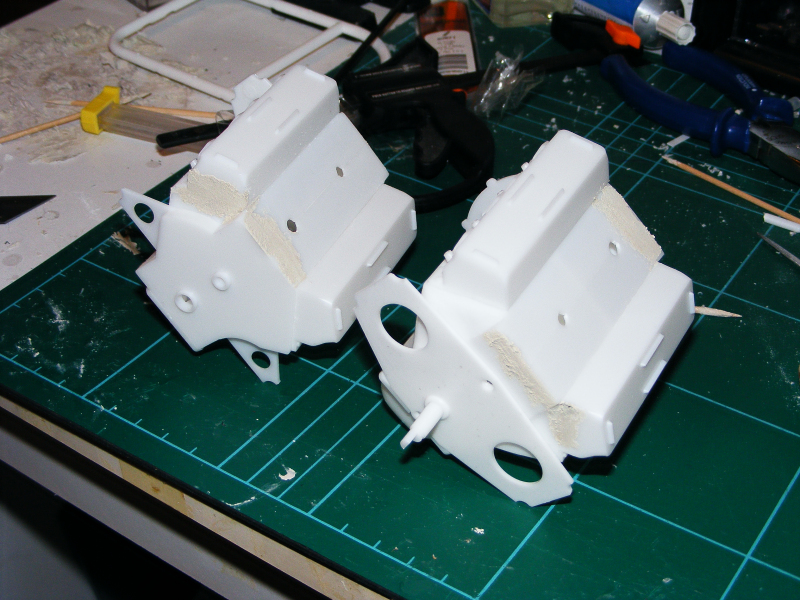
When test fitting the engine manifold bases I could see a very large gap that would take a lot of work with just filler due the angles, so in my scratch box I had thin strips of plastic (from Evergreen .5mm X 1.5mm) & I put these on the angled edges of the manifold base. After drying these were cut & filed to allow the manifold to sit correctly.
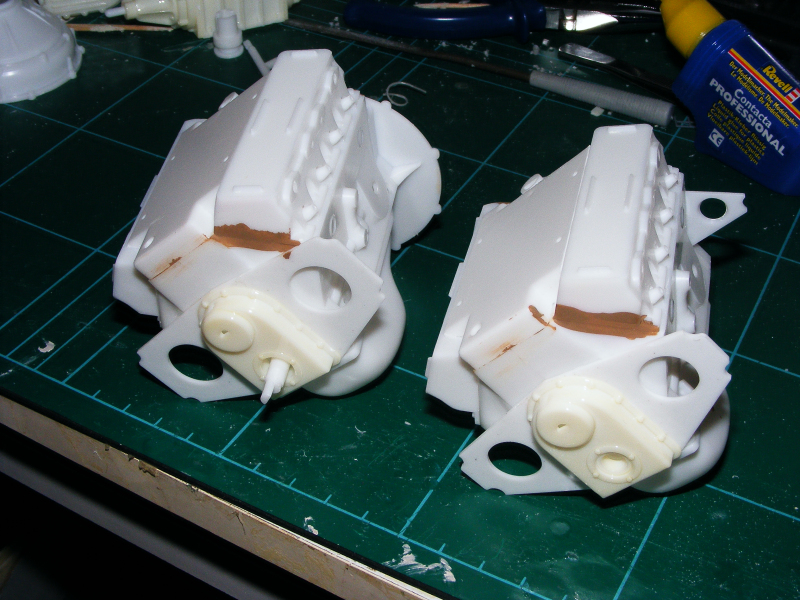
I thought too much chrome would detract, so I de-chromed the front engine parts that goes on the engine mounts. Any gaps that need more work will still have this paint showing, so you can see where more is needed. As you can in the photo this showed me the join of the engine block & manifold still needed some work.
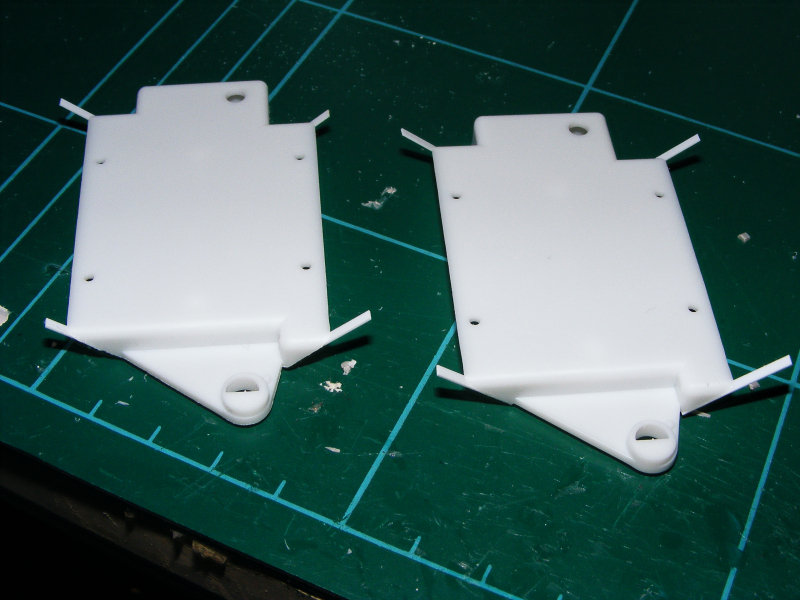
NOTE :_ Don’t try to find the engine mounts 61-b & 71-b. I looked all round the sprue’s & could not see them, but they are not needed when you mount the engines.