1/8 Scale ’32 Ford “Big Deuce” – 01
Revell re-released this kit a few years back with just one version, but back in 2016 I managed to find this earlier “3 in 1 version” allowing either the “Big Deuce”, Highboy or Rat Rod versions. I decided on the “Big Deuce” because I wanted the flared arches but would do some custom work on the engine etc.. I thought of what paint colours to use, but have been toying with the idea of doing a matt body paint job, so I decided to do the whole lot in matt red & only use gloss on the engine, axles & some other parts.
I started with the main engine block half’s & glued them together. I want to have some chrome on the engine, but again in my view, model firms go over the top with it, so some of it had to be removed.
Used my favourite method of diluted bleach & then a light sanding to give the parts a base to paint to I removed the chrome from the transmission housing parts, starter motor, oil filter, block top & the main alternator. I glued the transmission parts, alternator body, starter motor & oil filter to the engine block. I fitted the cylinder heads to the block at this stage to give me a better view of how the top of the engine block will fit.
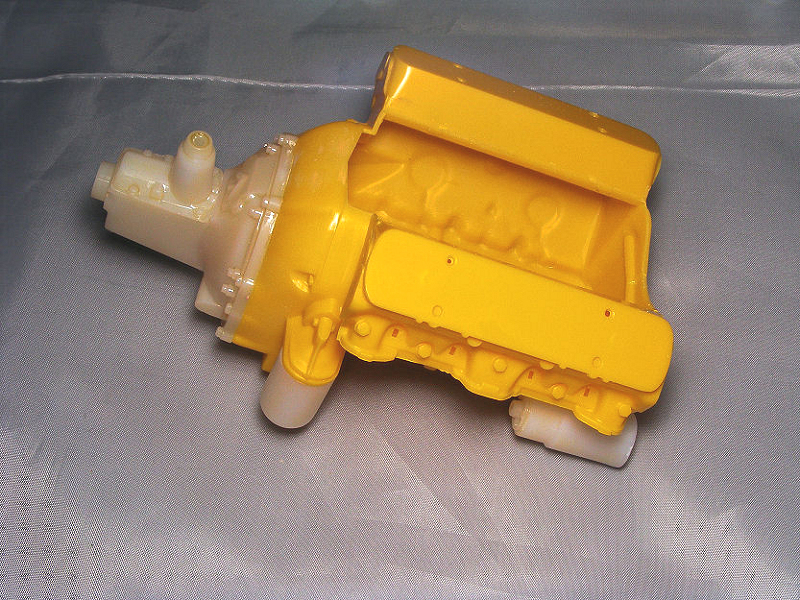
It was a good idea I did fit the cylinder heads as I found the top of the block had wide gaps at the edges & at the back where it meets the transmission housing. I always keep a stock of various thickness’s of plastic strips, so it was simple case of finding one just a bit thicker than the gap & gluing cut sections to the top section. After setting just giving them a light sanding down to the right thickness solved this little issue then all I needed to was to glue the top the engine block.
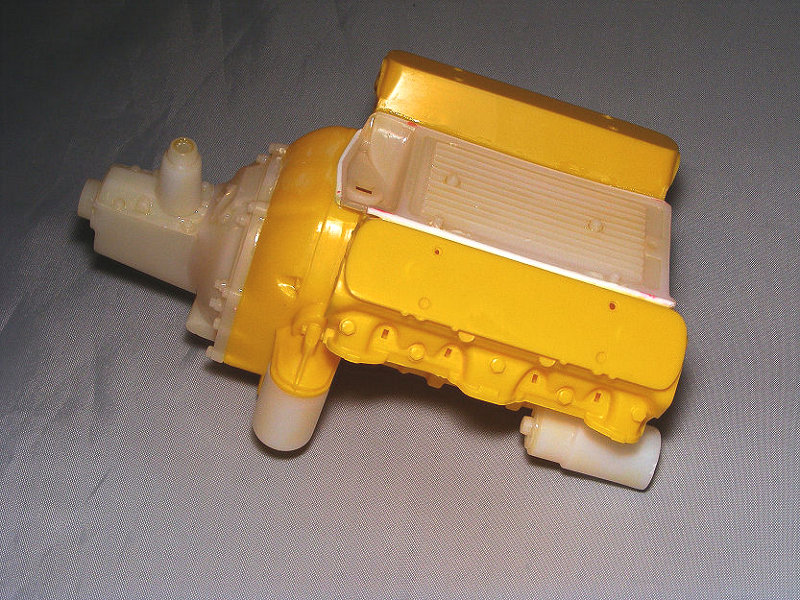
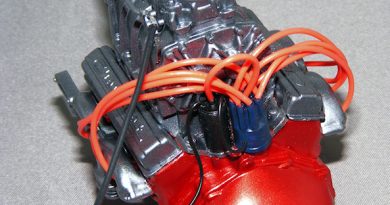
The water pump housing & also the de-chromed alternator front were put on the front of the engine block & it was ready for this unit to get it’s paint job. Keeping with the red theme & to add some I am doing the engine in gloss red. First it had 2 good coats of Halfords red primer & a light sanding after each coat. The unit was then sprayed with 2 coats of Nissan flame red rubbed down between the 2 coats with very fine sanding cloth. The unit was then left for a good 2 days to allow the paint to fully harden.
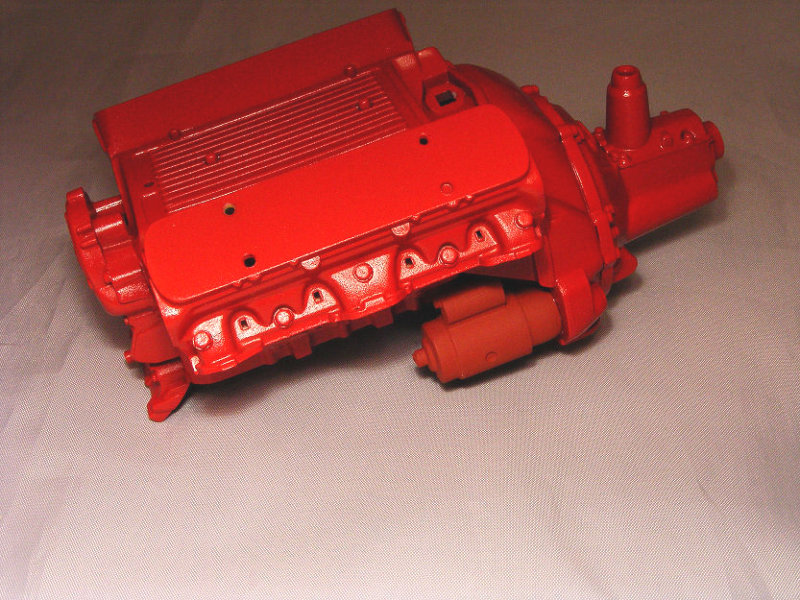
Now time to put a bit more detail on. It doesn’t showing the picture but I painted the vanes of the alternator in silver. I fitted the rocker covers to the engine block & allowed them to set. While they were drying all the pulleys were de-chromed & then given a coating of moodust silver. The oil pan was fitted to the base of the block & then the pulleys were put together & put on the front of the engine.
Now the rocker covers had set it was easy for me to test fit where the intake manifolds sit & to measure the length of thick tubing needed to go between them. Once the 3 pieces were cut I found it best to glue down just one side of the manifold till it had set, then put the tubing & finally glue the other side down.

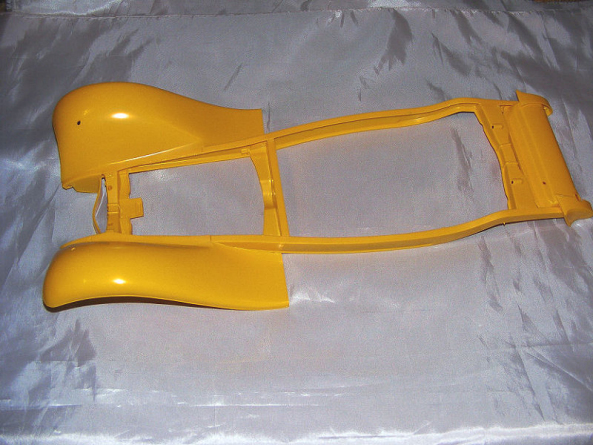
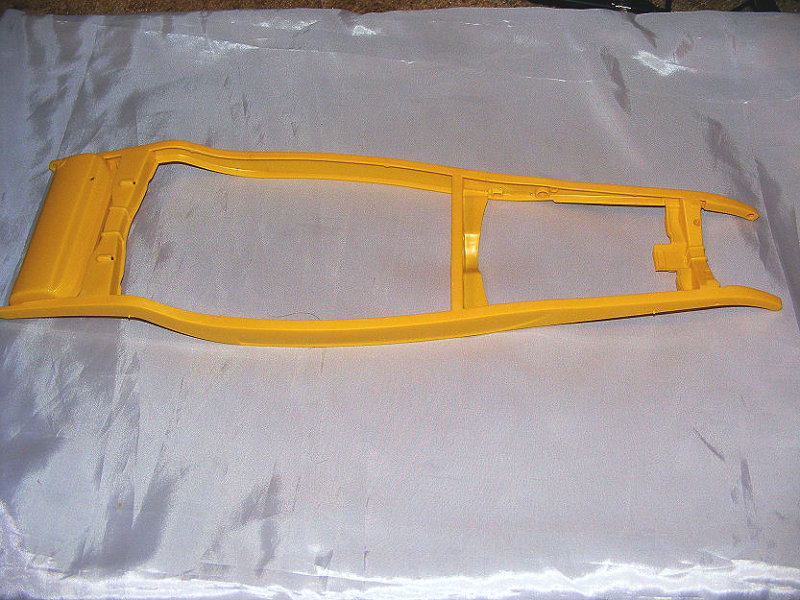
While the engine dries it seemed a good idea to start on the chassis. I built the fuel tank & just had to sand down the joins a touch. The chassis needed a light sand on the edges to remove a sharpness & roughness from the moulds & I glued the tank, cross members & 2 rails together & using tape to keep the frame at the correct allowed it to dry overnight.
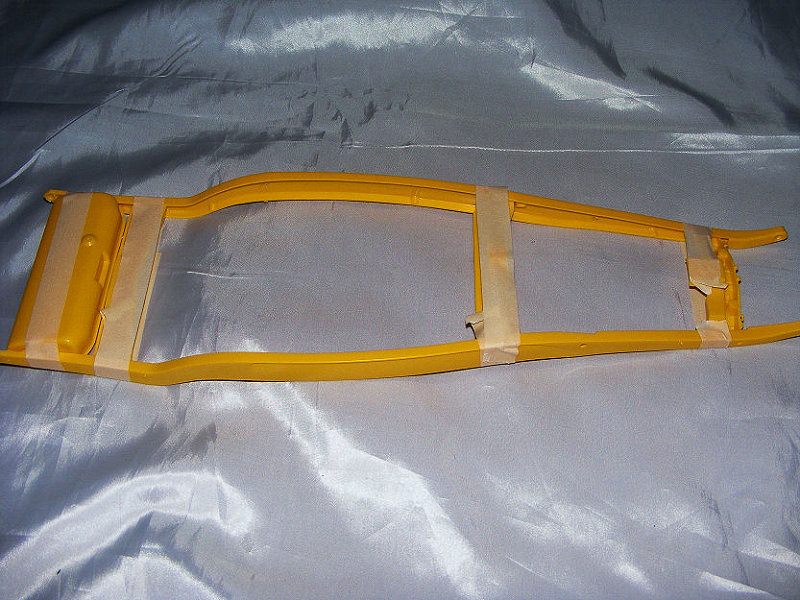
Only the rear cross member needed some sanding, filling & sanding down to get a smooth line (message to wife :- yes I know only I can see it’s there & it won’t be seen in the finished kit, but well that’s me).
Once this had been done I jumped quite a few stages & fitted the front arches & rear arch covers (fender covers). This is because they will be painted in the same matt red as the body & having them on now saves me having to spray them separate, scraping off some of the frame paint to glue them & then have match the spraying up later.