’57 Chevy Strip version-01
Originally made this back in 2007, so pictures not brilliant as done on low resolution camera back then.
The kit is a large 1/12 scale Chevy ’57 that can be built in three different styles. You can build it stock, have a slight ‘Street’ feel, or like me go full conversion & build a ‘strip’ version with supercharger, large rear tyres etc.. When I started to look at the instructions & parts I saw the engine in this kit was just screaming out for extra details to be put on, and as it a large 1/12 scale I can practice my techniques. There is an older ‘Monogram’ version of this kit & a newer ‘Revell’ version. I have the older version, but a friend gave me the parts he did not use when he built a stock version of the Revell kit. The instruction sheets are different so I will not be using any instruction stage references if possible.
The engine is going to be built up ready to be fitted to the chassis & then left for fitting later. A lot of extra detail is going to be added like fuel lines, better ignition wiring & carburettor linkage, but lets get on with the basic build. With building the ‘strip’ version you have to look to see what parts you will need, & this is where I took one look at the instructions & decided to ignore the plan they give. This is because it would slow down the building & to me was a bit odd.
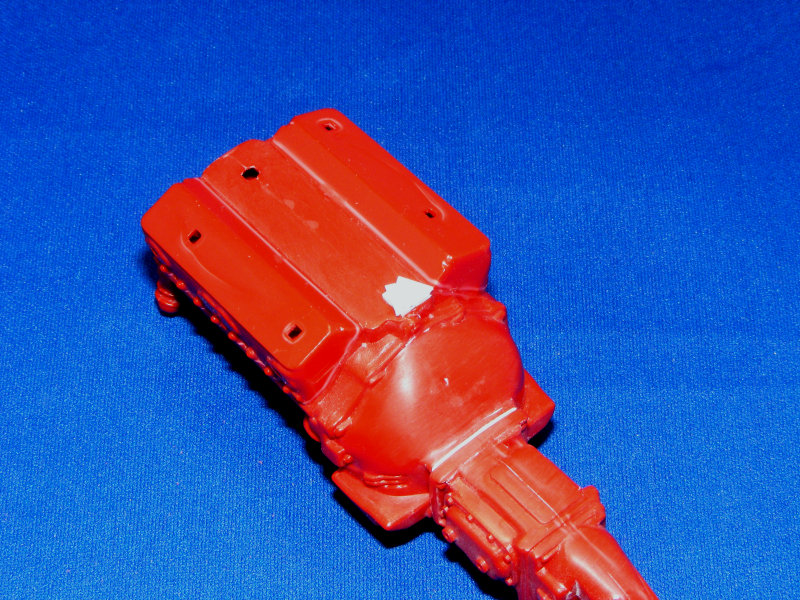
I built the main block, but left off the oil filter. I then glued just the top block covers & front mounting only. The reason I left the fitting of the outlet manifolds is because they have to be aligned to fit into the front exhaust pipe later on. Jumping forwards I made up the gearbox for the ‘strip’ & fitted this to the main block.
Some filler was needed between the gearbox and engine block, and that made the joint look better for painting.
It was a good job as when I test fitted the manifold cover some of the distributor holes were covered up & can not be used. The only way around this to do major changes. Luckily there is a spare distributor you can use from the ‘stock’ version, but you first need to cut off the old one from the manifold.
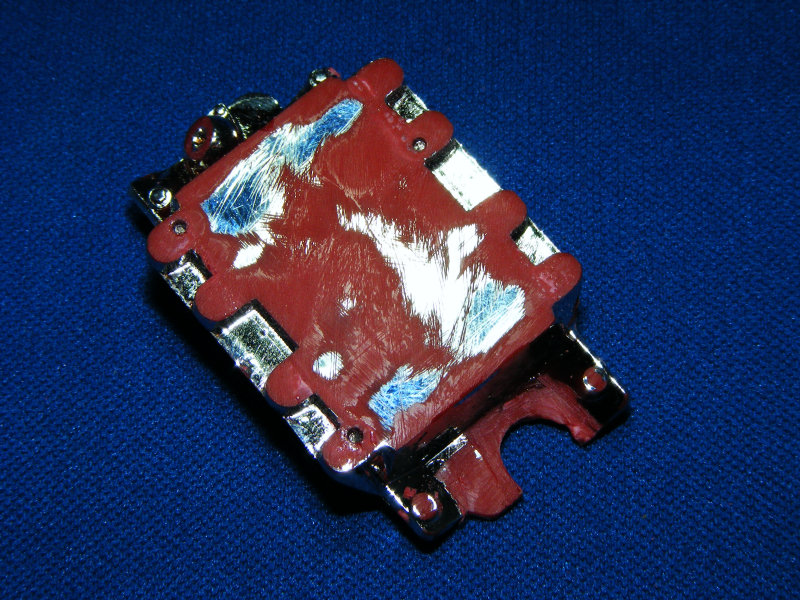
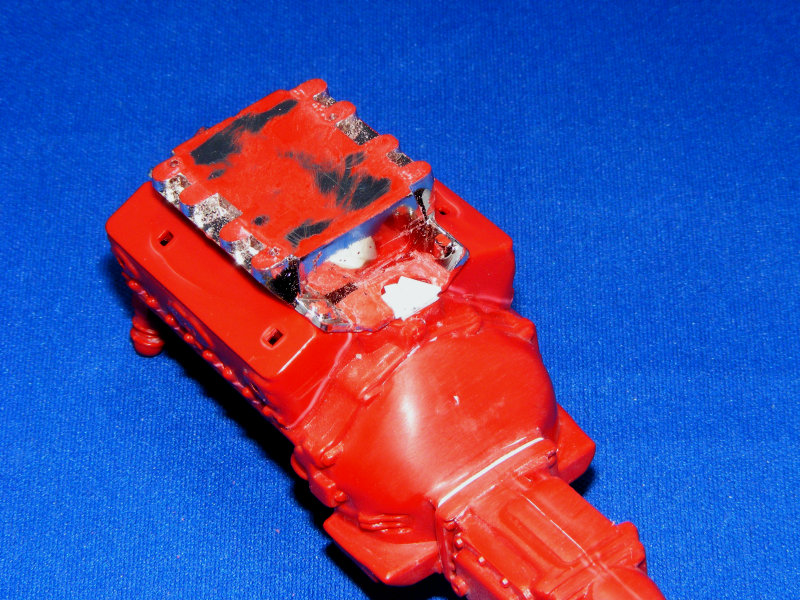
You cannot just replace it with the new one as you will still have the same problem so you need to move it back about 3-4mm. To give it a fixing point I put some scrap pieces of plastic on the engine block, let them dry then cut them back so that the hole was mainly filled in.
The are where the card was glued was now sanded down to match the exact height of the manifold cover so the new distributor will sit correctly when fitted later detailed & fitted later.
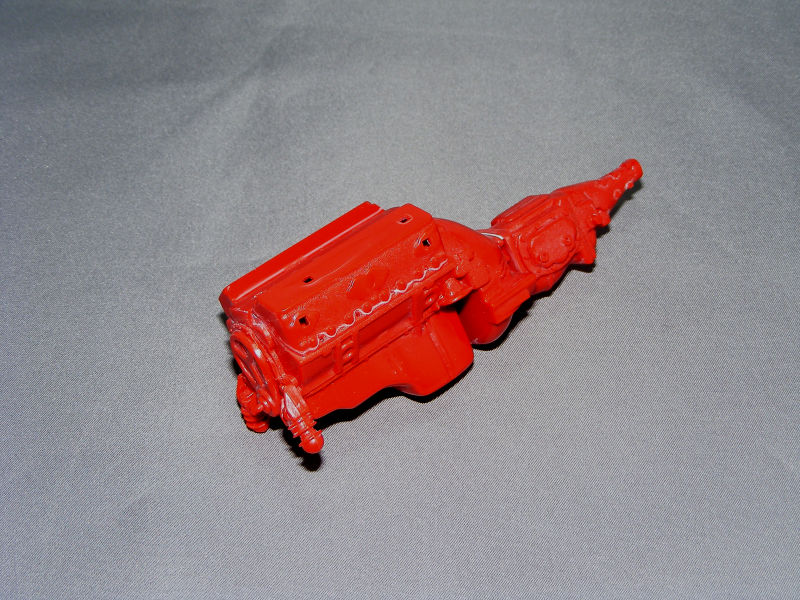
I took the unglued manifold cover off, primed the engine & gearbox in red, then as I wanted it shiny gave it a few light coats of Halfords ‘Canyon Red’, lightly sanding down each coat to provide a nice surface.

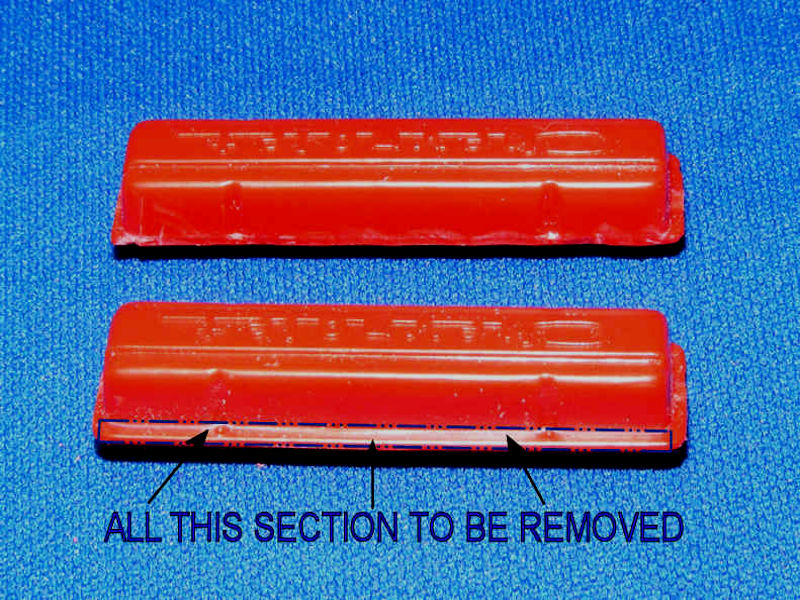
It is a good job I test fit parts as when I tested the manifold cover for the ‘strip’ version & rocker covers & found that the manifold would not fit. What I needed to do was to cut off the edge that sits against the manifold & that was then resolved.
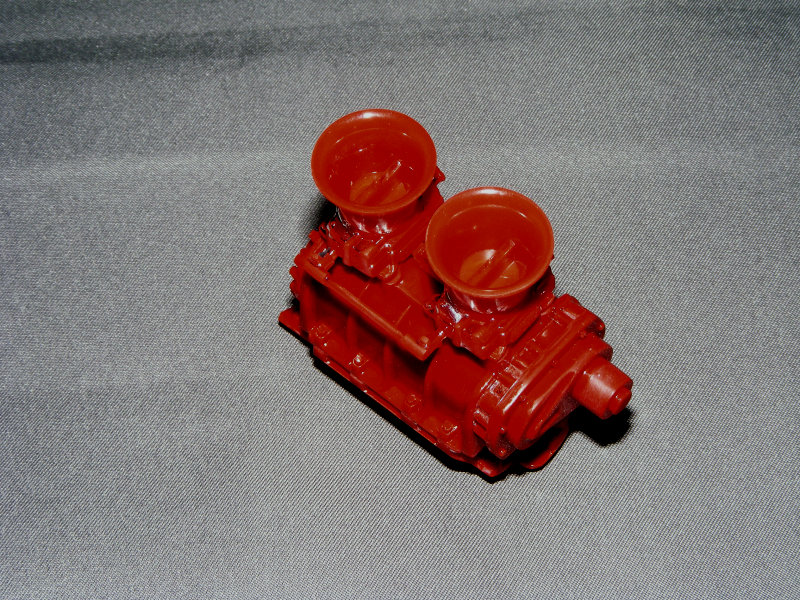
Now it’s time to start on the super charger unit & like in most kits it’s had too much chrome. With this & the carburettor’s being a difficult shape to sand off the chrome I used a technique I found on the net. This is to put a 50/50 bleach/water mix into a glass jar with a lid about half full. then put the parts into the jar & put the lid on. Give it a little shake & leave. Check after 1 hr to see if the chrome has come off & if not leave for another 1hr. By now all the chrome will have come off so put on some protective gloves & take out the parts. Give them a good wash with clean water & allow to dry, then give them another wash to be sure all the bleach has gone. You should now have parts down to the base colour ready to use/paint.
I made up the supercharger unit & carburettor then painted it in Halfords “Stone Grey” first before fitting it onto the manifold cover.