Revell Babylon 5 Starfury-02
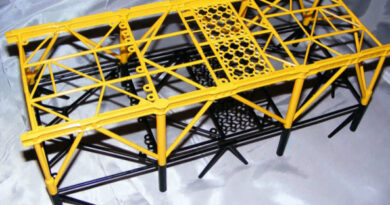
A common issue with the early release of the MK1Starfury kits was the design of the front main and secondary cannons. They lack drilled out barrels and have large areas that need filling, which even the manual says by altering this it will enhance the final look, so let’s get to it.
To avoid using excessive filler, which can soften or distort the plastic, I cut up old sprues and packed it into the smaller cannons and thin plastic card to fill the gaps in the lower guns.
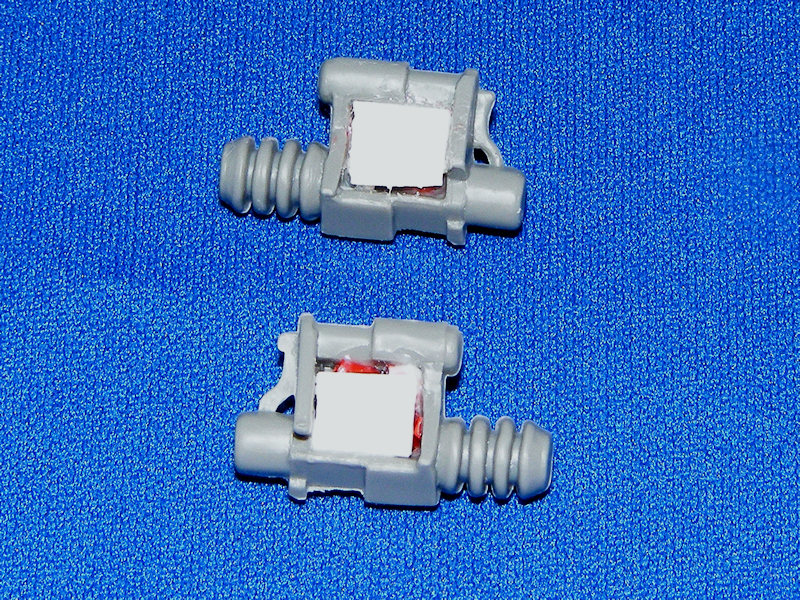
Allow these inserts to dry thoroughly before applying filler to smooth out the surface. For the upper inner wing guns, I used plastic card to cover any remaining gaps.

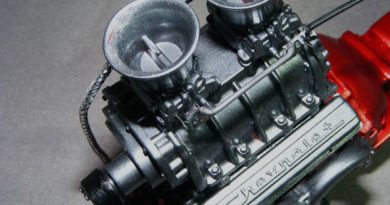
Now that I’m happy with the gaps in the guns are filled, it’s time to refine their appearance. Trim away any excess plastic, then proceed with several rounds of filling and sanding. This process may seem repetitive, but it’s crucial for achieving a clean, realistic look. Use progressively finer sanding sticks or paper to ensure a smooth finish. To make sure that I have got the effect I require I regularly just give the area I am working on a light coat of primer just to see how it looks, and if any more filler or just sanding is required. As you see there is a very small area on the top cannon that needs a bit more filler adding.
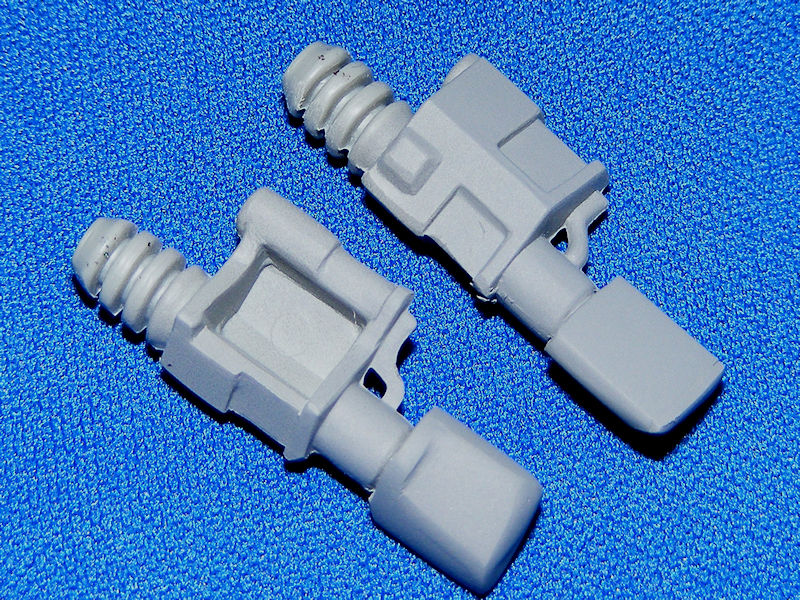
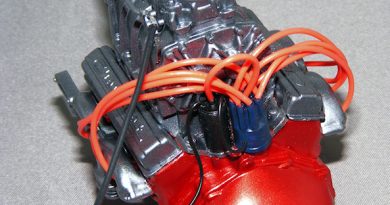
Pay close attention to the contours and details, as well-finished guns will greatly enhance the authenticity of your MK1 Starfury. The modified cannons just need a tidy up of the visible seam lines and any dust from filling and sanding removing. For added realism, carefully drill out the gun ports using 1.0mm and 2.0mm bits. This extra effort will make a noticeable difference in the final appearance of your model.
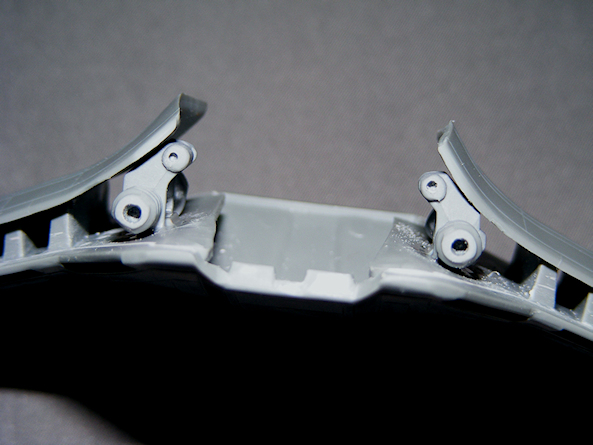
Before attaching the top wings, the upper guns need to be fitted and to sit correctly, and with these mounted on small plastic stubs, and it’s easy to misalign them. To ensure accuracy, use a slow-acting glue, which gives you time to adjust the angle. Hold the unglued lower part of the wing in place with tape, and adjust the cannon assembly to check alignment, then allow it to set.

Now the cannons are set I am not happy with the way one set of drilled out barrels doesn’t match. I went back and checked that a 1.5mm drill bit would rectify this mistake, so I will do this before the wing gets mounted to the rest of the kit.