1/8 Scale ’32 Ford “Big Deuce” – 02
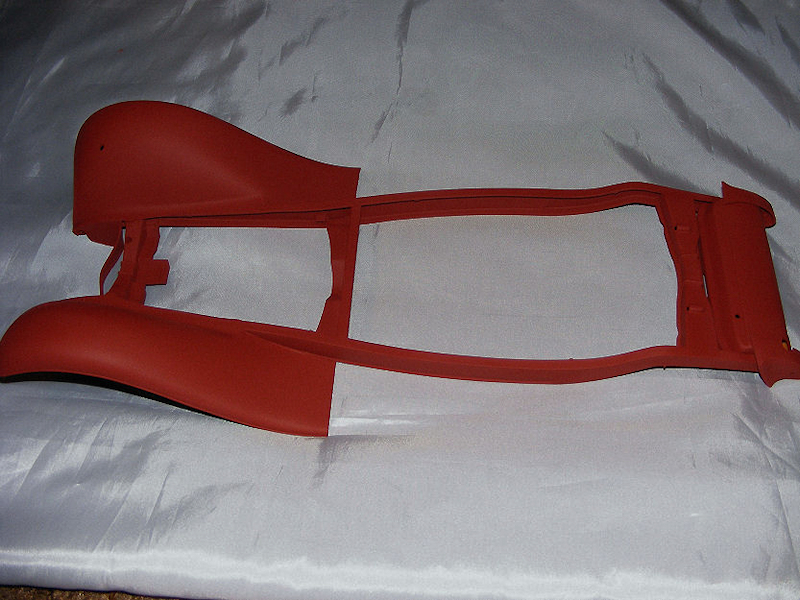
After washing the frame to remove oils and dirt, I applied two fine coats of Halfords matte red base, sanding and wiping with a tack cloth between coats. The final coat was sprayed for an even finish, and the frame was stored safely to protect the paint.
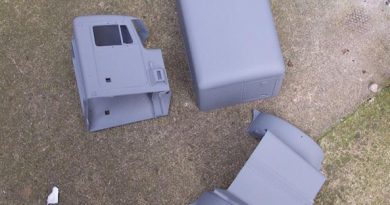
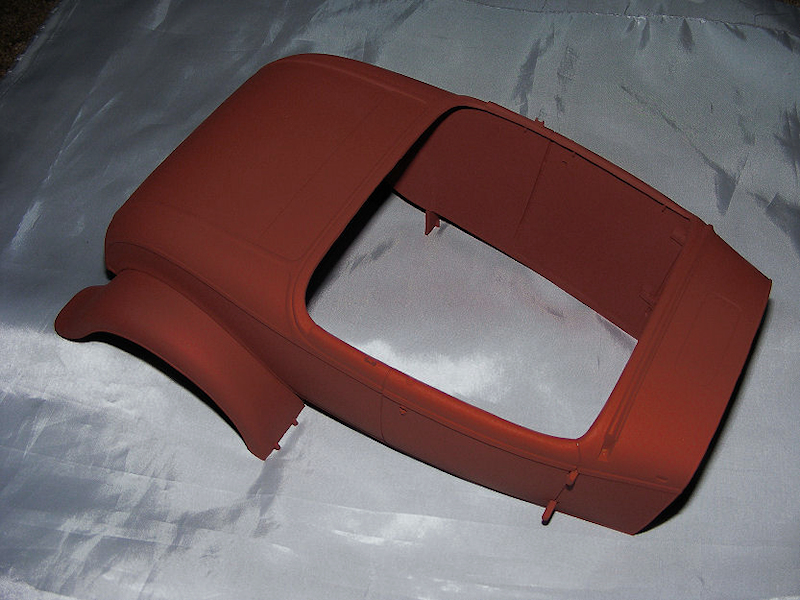
Next, I tackled the body. I made and fitted the door hinges, noting that the kit is designed for opening doors, though I chose to keep them shut. The rear arches were fitted and any gaps filled and sanded. After a thorough cleaning, the body received several coats of matte red, with sanding and tack cloth wipes between each. Once fully cured, the body was bagged to prevent damage.
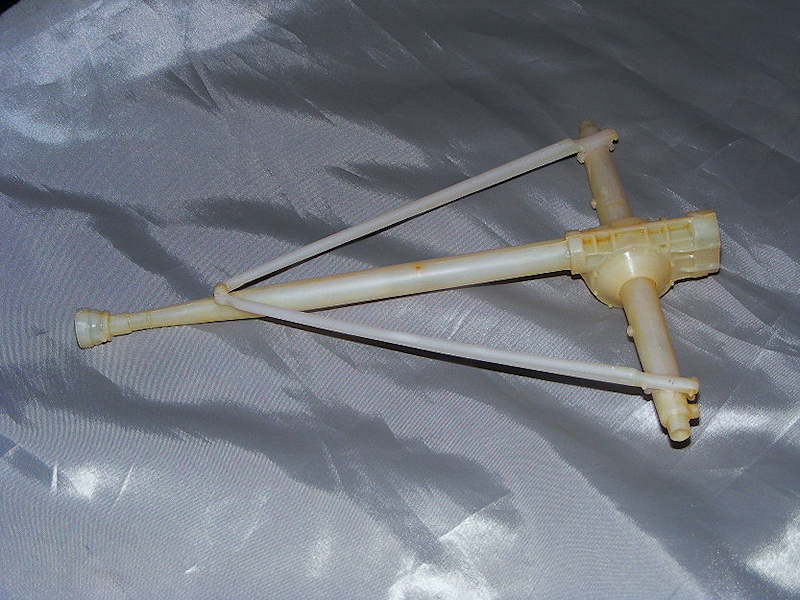
Continuing the red theme, I stripped the chrome from all rear axle parts except the quick change cover, rear brake plates, and hubs. After a light sanding, I assembled the axle housing, sanded the joints, and attached the radius rods.
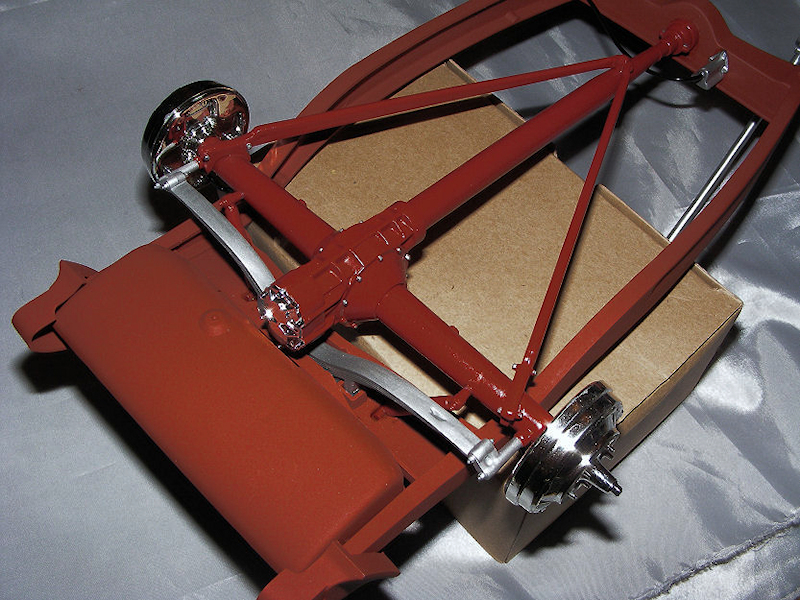
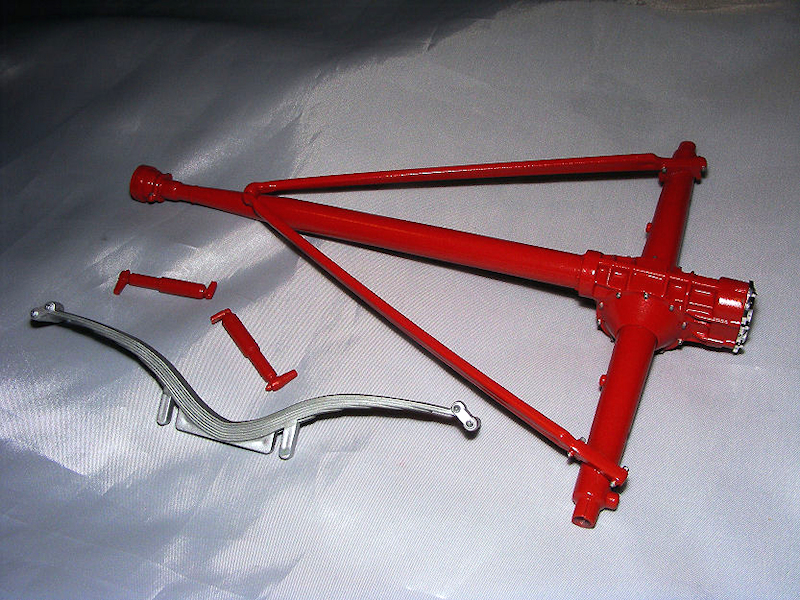
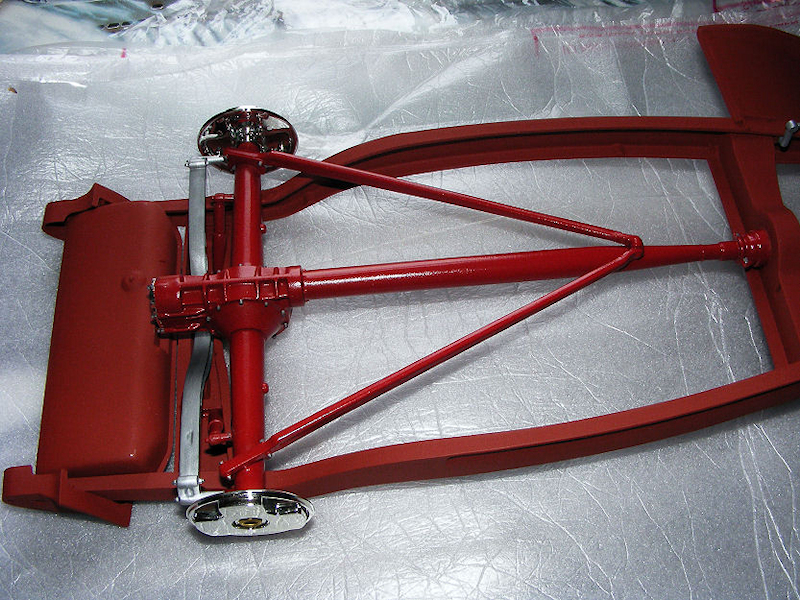
Once dry, the rear axle was primed in matte red and painted with the same flame red as the engine. Bolt heads were highlighted in matte aluminum, and the chrome rear cover was fitted. The shock absorbers were painted similarly, with matte black for the suspension bushes. The rear springs were sprayed moondust silver, and the bolts and joints were detailed with thinned Humbrol gun metal.
The rear shock absorbers had matte black details added for the bushes. I fitted the rear axle to the chassis, using clamps to hold it in place with the driveshaft housing fitting into the engine crossmember.
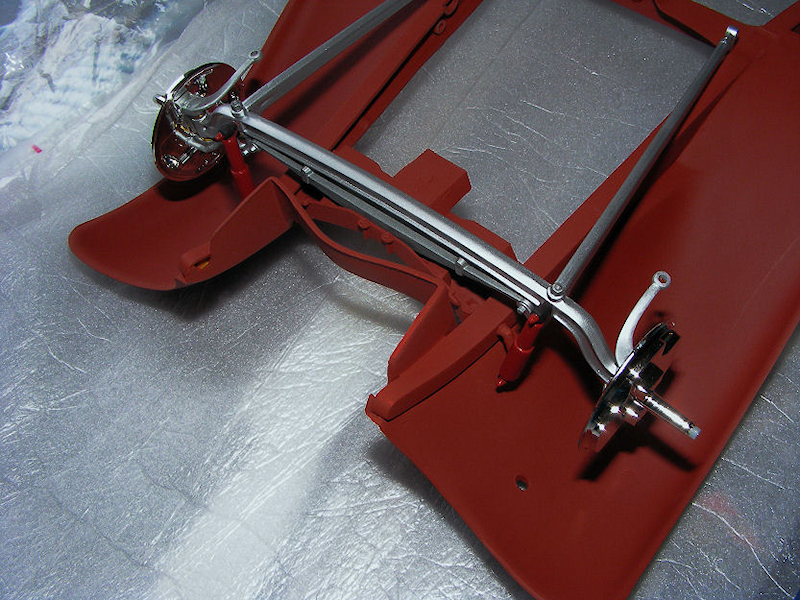
The front axle and its components were also stripped of chrome (except the disc brake plates and hubs) and painted moondust silver. I scraped paint from the steering arm and supports, and removed chrome from the brake plate mounting points for a solid bond. The front radius rods and tie rod were painted silver, with bolts highlighted in gun metal.
The front shock absorbers were painted Nissan flame red, with matte black for the bushes. I fitted the front axle to the chassis, using clamps to hold it in place while the side support rods were attached. Letting the axle set before adding the shockers ensured a solid fit.
The steering column was de-chromed, assembled, and sprayed moondust silver. The brake cylinder received the same treatment for a brushed aluminium look. Tubing was measured and fitted to the chassis and cylinder, with a dab of superglue to secure the ends.
After fitting the steering box, I attached the drag link to the front axle, painting the ends gun metal to highlight the threads and ball joints. The tie rod was then fitted, with care taken not to glue it to the steering arm. Tubing for the front and rear brakes was cut and glued to the appropriate pins.
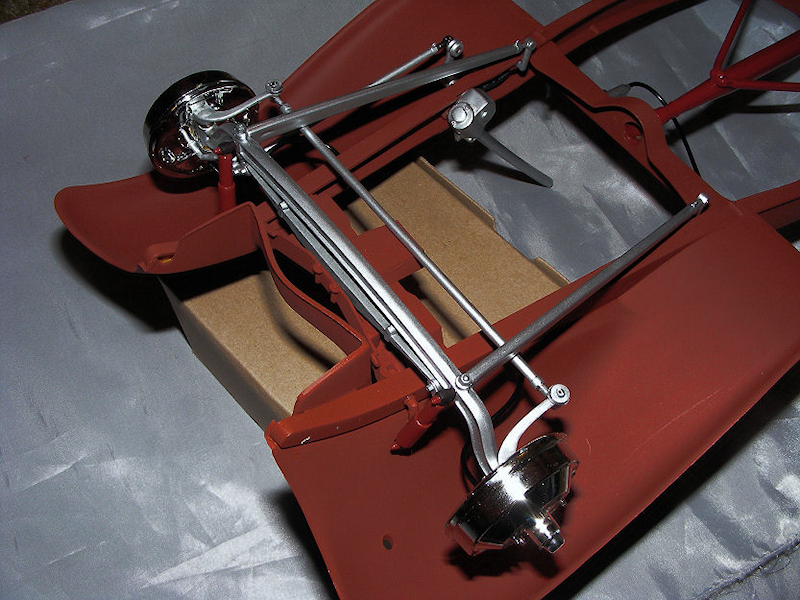
The rear brake and pipes were fitted the same way, and the brake pipe going down the frame and connecting to the brake valve on the engine crossmember.