Monogram 1/16th Peterbilt 395-03
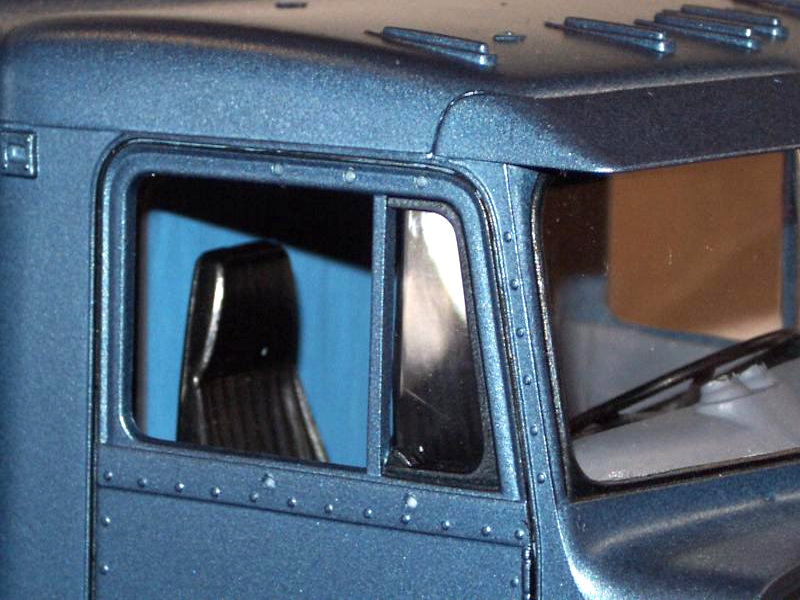
After all the “fun” of filling & sanding the sleeping cab it’s now time to get painting the main cab, sleeper cab and bonnet of the 1/16 Peterbilt.
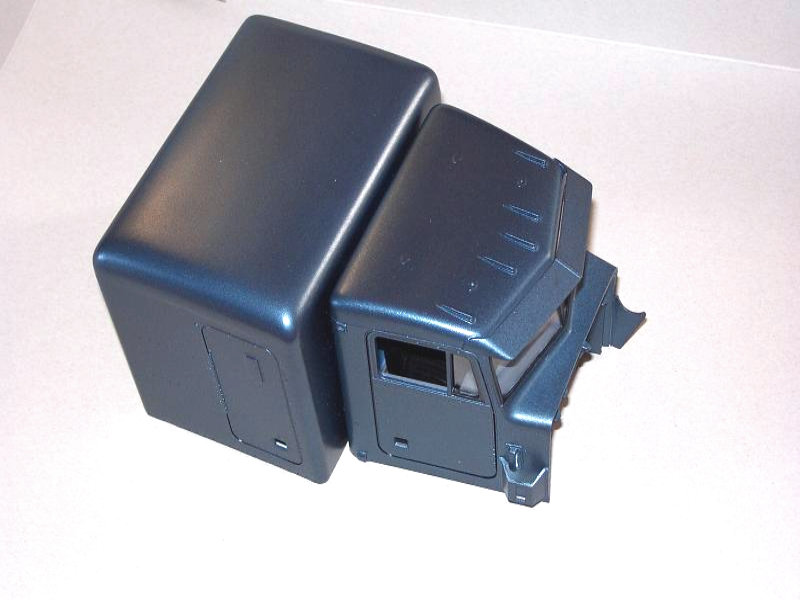
F irst was one final coat of primer, but after drying did a wet sanding using fine 4000 grade sandpaper, and a final wash in plain water so the top coats will be smooth. These parts were then sprayed with three coats of Metallic blue, but between the second and final coat I again did a light sanding using 5000 grade sandpaper and a plain water “wash and dry”.
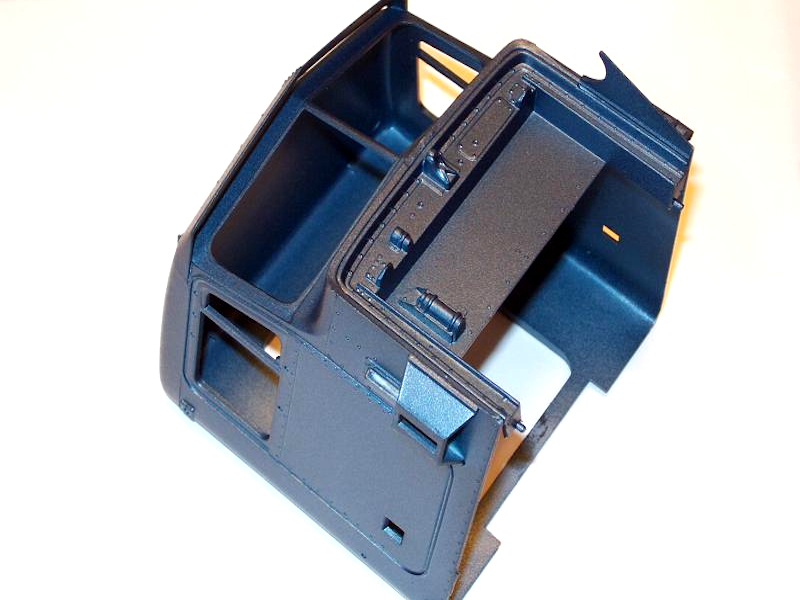
A good few days were left to allow the paint to cure, then I applied 2 coats of lacquer. I then used a fine line pen to infill the door panels & locker panels.
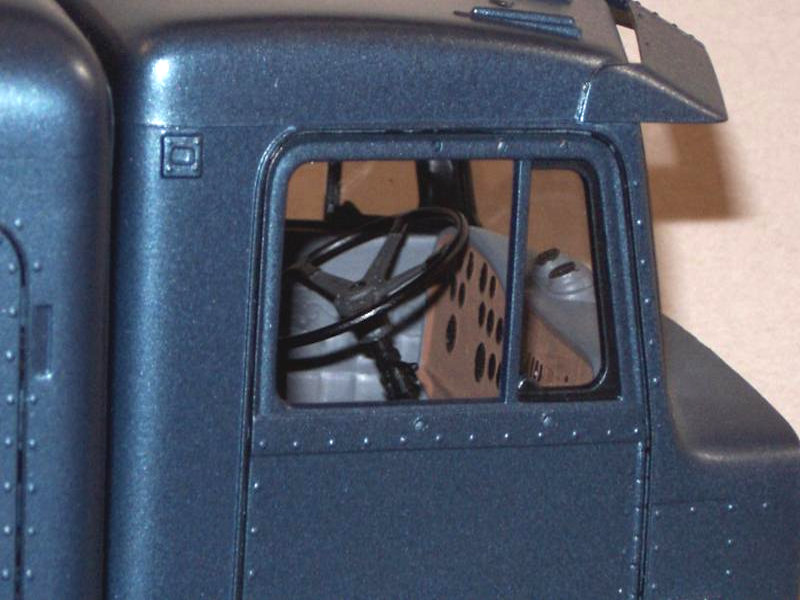
Again my wife comes to my aid saying that a medium grey/blue colour would be best for the interior, so the seats were done in satin black, the dash was done in a matt wood with black dials. The rear curtains of the cab were done in a matt pale blue, highlighted in white. The the rest of the cab trim & flooring in a satin medium grey. Sorry there is no picture of the cab before it went inside but this was another picture lost when I had computer problems.
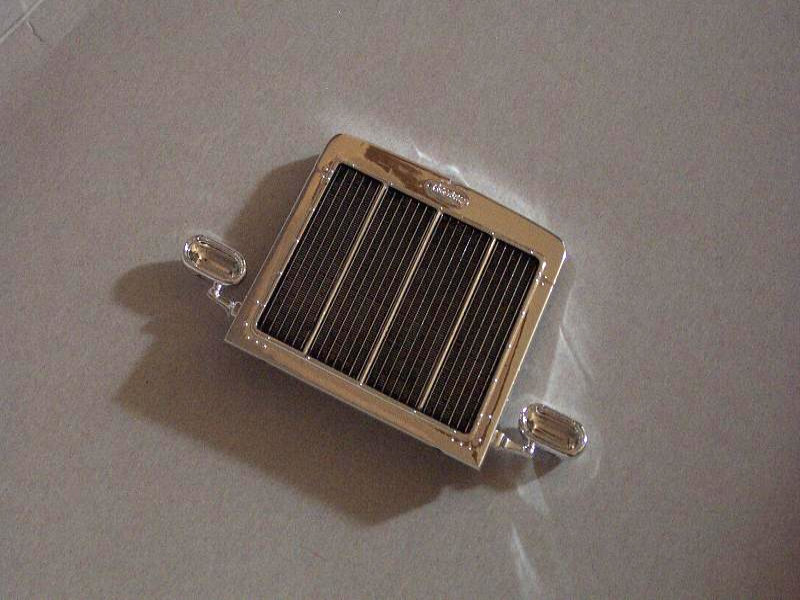
As always the chrome effect on grills is too much. The inside of the grill would not be shiny & solid as no air would get through. Drilling through the grill was an idea as the size of holes is large enough, but I haven’t got six months to try, and also do it justice. The other option is to infill the centre with black ink. I used black ink from “Games workshop” & dripped, using a plastic cocktail stick, a small amount into each of the grill lines then let it dry & then rubbed the main grill lines with a cotton bud slightly dampened with water to bring back the shine. This took 4 goes to get the desired effect. As you can see in the picture I have kept the slight shine for the support for the vanes of the radiator, the black to represent the radiator vanes & the chrome for the exterior view.
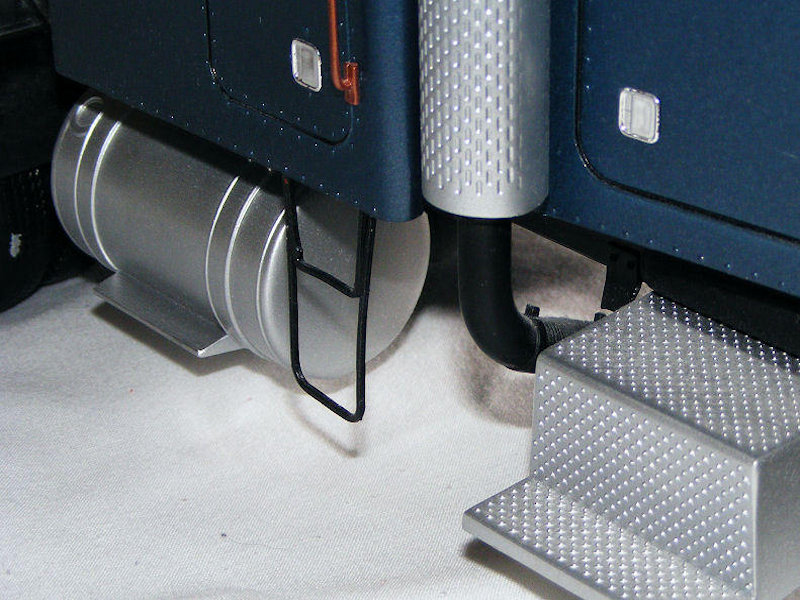
All handrails had their chrome removed and were sprayed with Halfords “bright copper” for a personalized touch. These, along with the sleeper unit step and door handles, were glued in place. The remaining chassis parts and cab were then assembled, including the fuel tanks and fifth wheel,
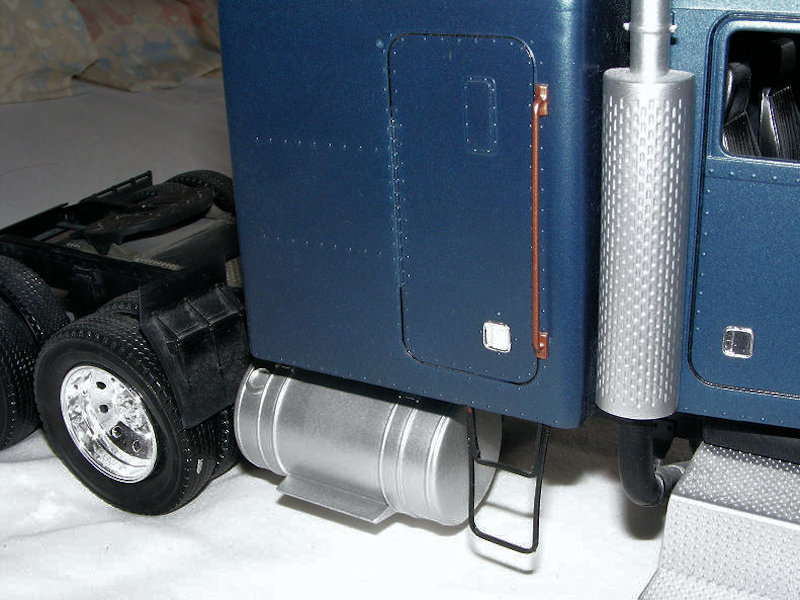
which were left to set for 24 hours. The cab and sleeper were glued to the chassis, followed by the exhaust stacks and connecting pipes
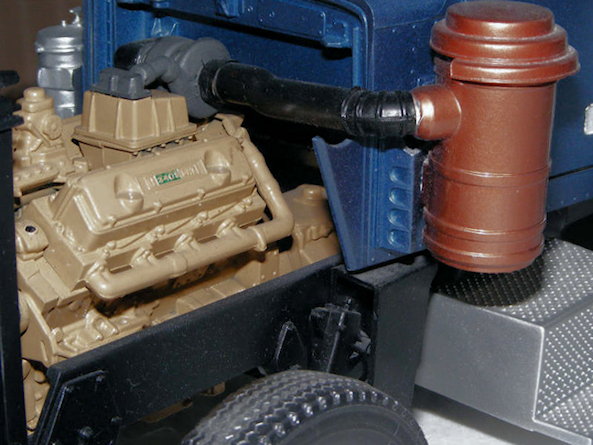
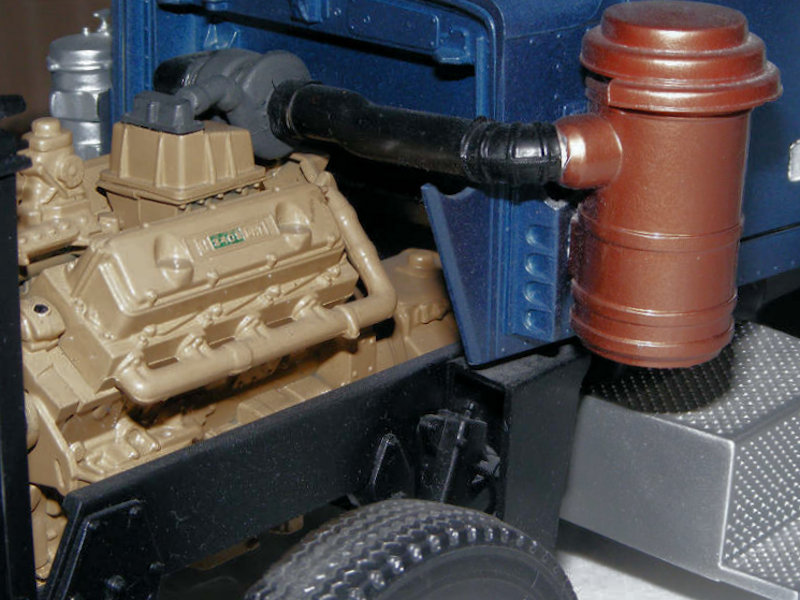
The air filter box was sanded down & painted in the same “bright copper” as the grab rails & fitted to the cab, together with its, air connection pipe.
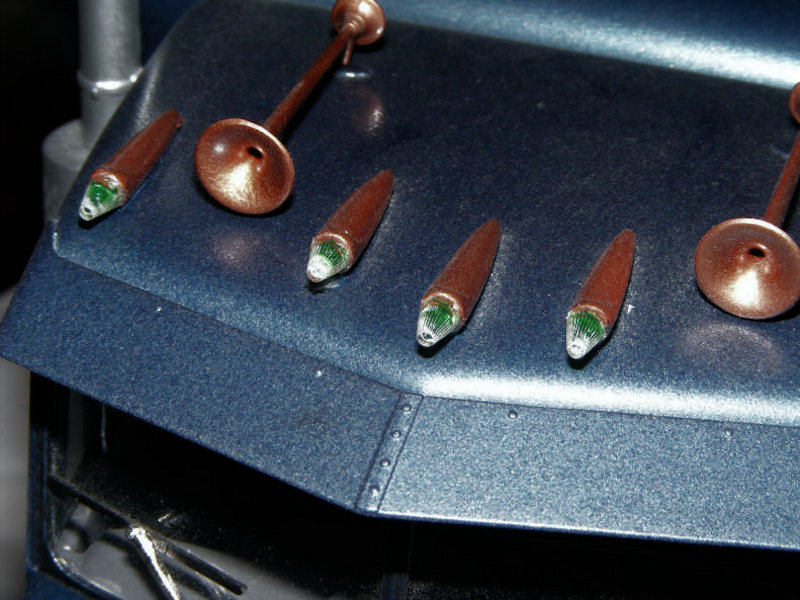
The roof lights & horns were sanded & painted copper, to simulate the bulbs & put “Fluorescent green” at the tip of the lights then the lens fitted over the top.