Revell North Cormorant Oil Rig-04
Module 5: Frame and floors
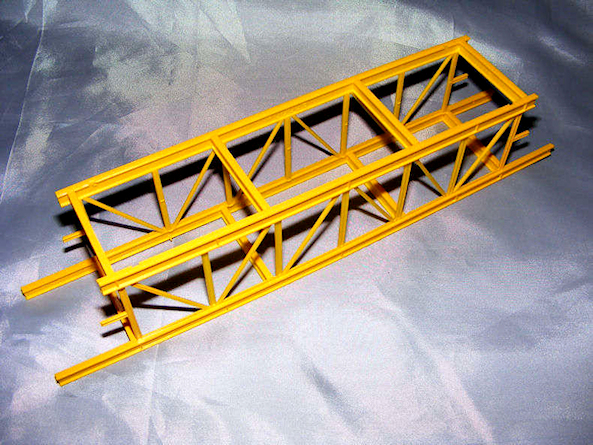
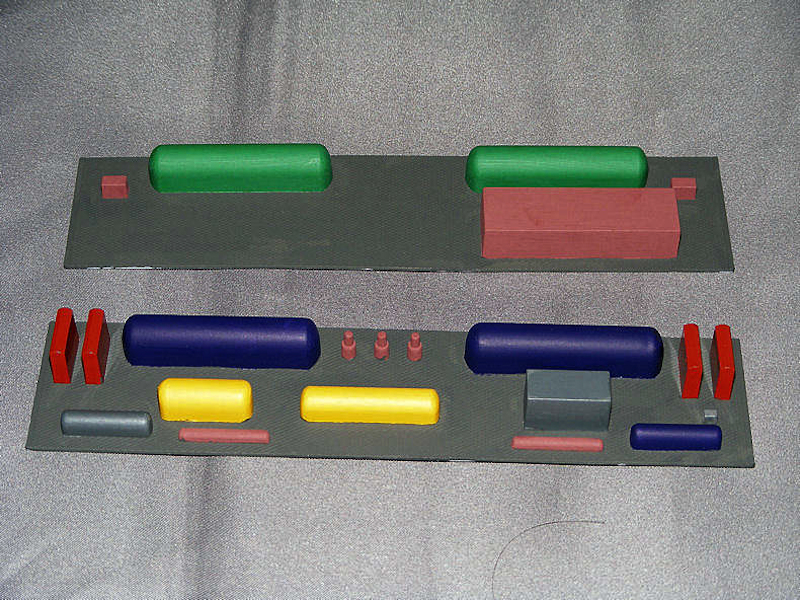
Module 5 follows the same construction method as Modules 1, 2, and 3: build the outer frame, spray it yellow, and move on to the floors.

A full 100% to any rig workers as I got it wrong, and the instructions are no help at all! The floors here are meant to represent tanks, and with no additional guides. pictures of the internal halls and very poor manual colour guidance I painted them in green, blue, and yellow. Once painted, I added the outer walls and set the unit aside.
Module 6: Burn-Off Gantry module prepearation
Module 6, along with Module 9, will support the “burn off” gantry. The frame is built as before, but one side requires small girder parts for a wall section. Pay close attention to part numbers, as the wall isn’t straight and some girders are shorter. Use the guide marks on the frame, but double-check alignment before gluing.
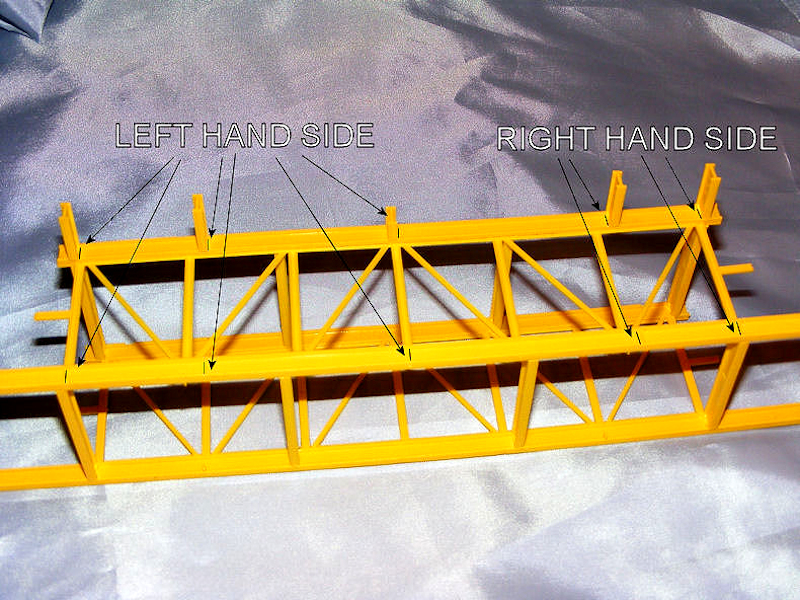
Once the girders are in place and painted, I installed the floors with an aluminium finish, then added the outer panels.
Module 8
This module & No. 9 cannot be made in the same way as you will not be able to slide the floors in due to the frames not being as tall.
The best way to build this one is to first glue just one “M8” side at where the 8 beams join, fix each beam in place with glue till it just holds in place under its’ own weight, then just to rest the other “M” beam on the other end of the E beams so they line up & then hold it together with tape till dry but do not then glue the other “M8” beam in place.
At this stage I just held the 2 parts with tape, masked off as before parts of the frame & then sprayed yellow.
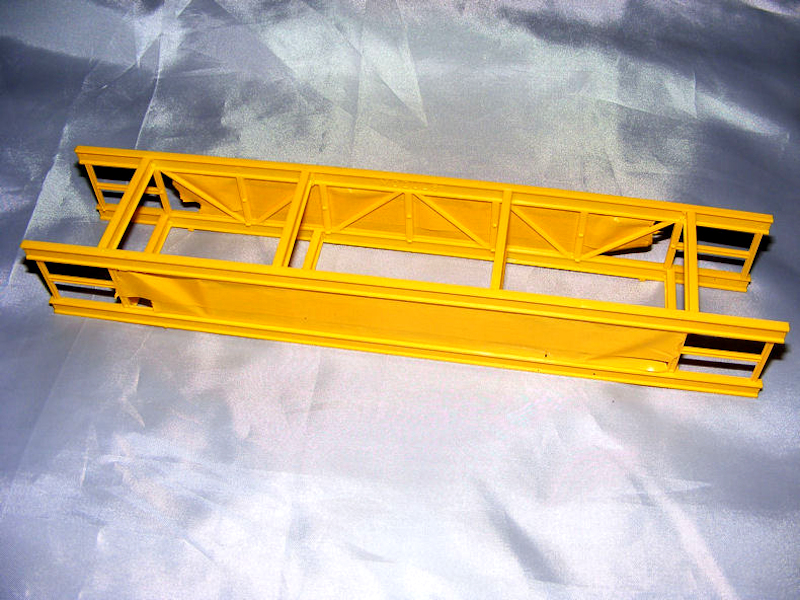
Now I painted the floors for this module & then glued the bottom one in place, allowed it to dry then glued the top floor & the remaining main “M8” frame to the support beams. If you try and build the frame in one go, then all I can say is good luck!. When dry just add the external panels as , well you know by now, like the past 5 you’ve now done.
Module 9
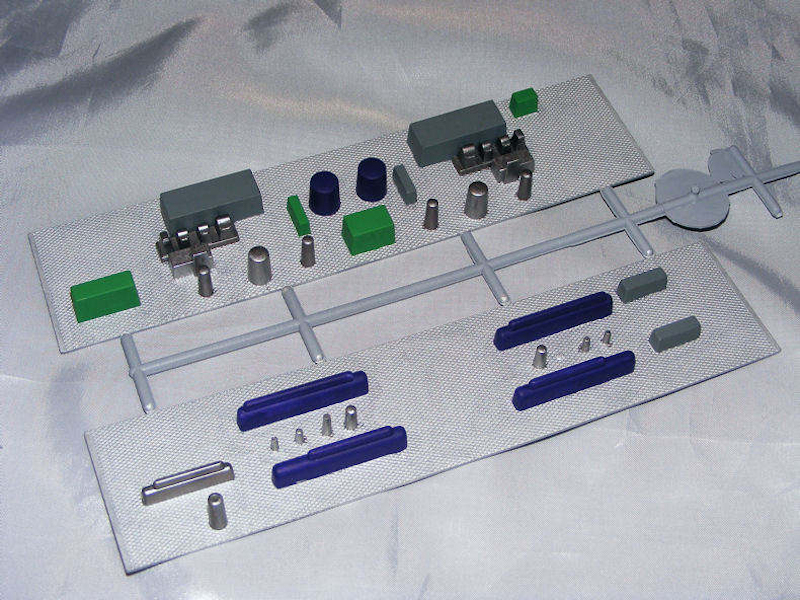
Module 9 is assembled just like Module 8, but after fitting the end main frame, I added the girder extensions and aligned them as in Module 6 for the wall to fit later.
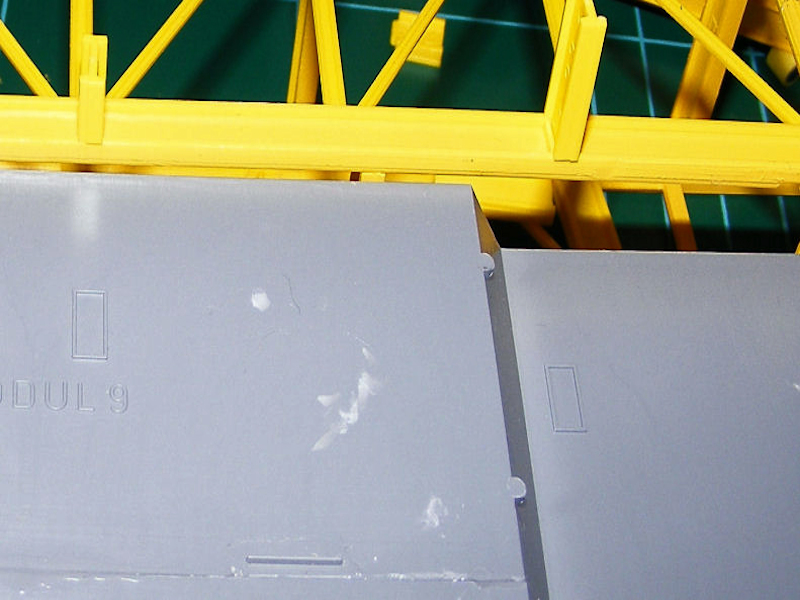
Once the floor areas were painted, the module was ready.
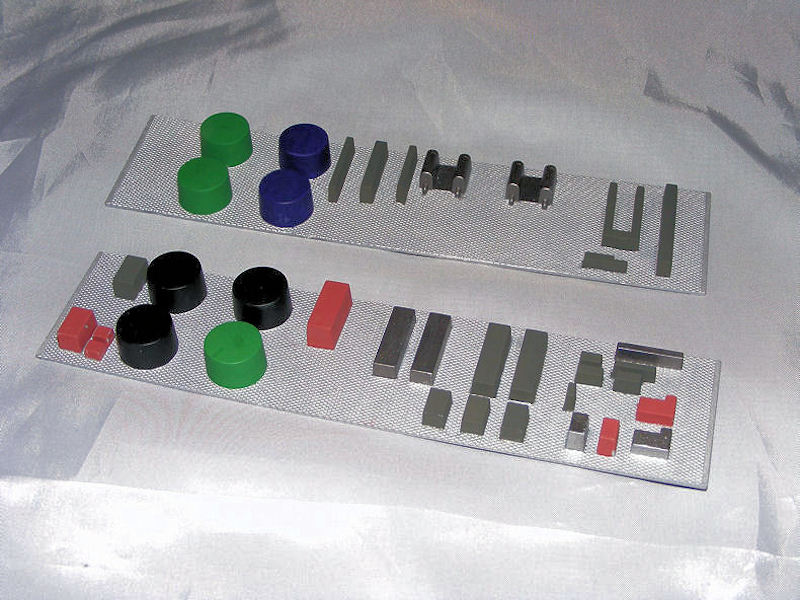
When I originally built this kit back in 2008 I even contacted Esso to try and get detailed pictures of the inside of the rig to help with painting etc, and they did send me photo’s of the exterior, but nothing on the internal operations side. If I had these then I would have tried to do more internal work, but as none of the floors will actually get seen, I will have to live with my poor efforts.