1/8 Scale ’32 Ford “Big Deuce” – 03
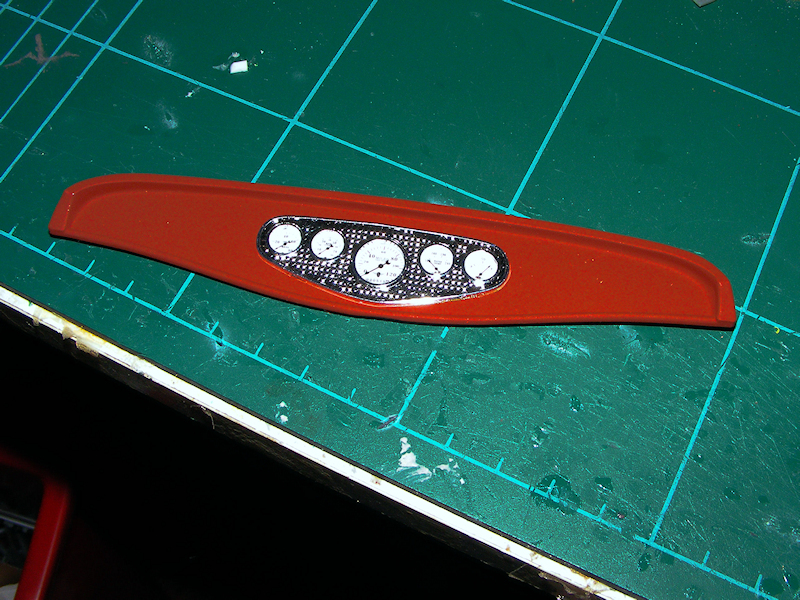
Back to the red primer again for the dashboard & with just a light scraping of the edges & the back of the instrument bezel allowed it to glue into place very nicely. As for the dials it shows them as decals, but these will not work as there is no back to stick them to. I found that if I left them on the backing sheet & cut it to fit inside the bezel there was plenty of room to put a scrap piece of plastic behind to hold the sheet in place & not ruin the effect.
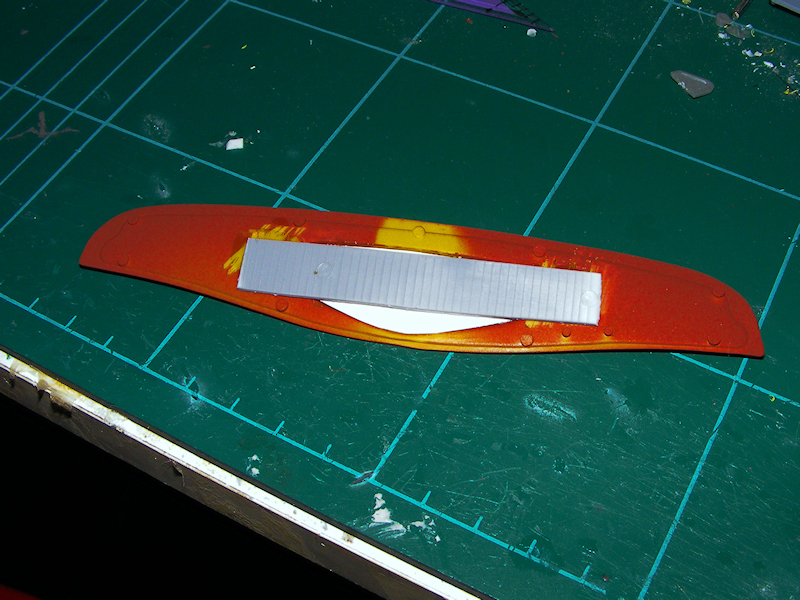
Take a look at the finished result & you will see what I mean.
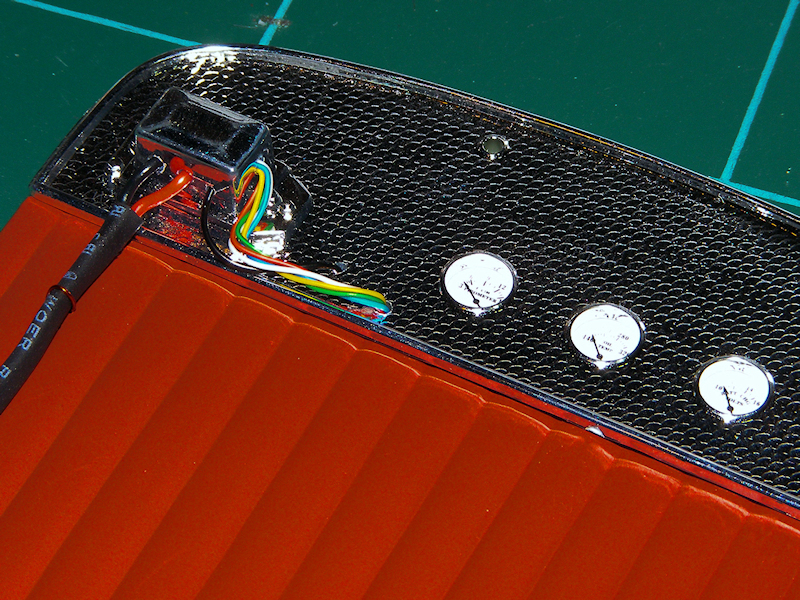
The bottom part of the firewall was done in matt red, but to allow the shine of the engine to come out & to act a bit like a mirror I left the top section chromed. Instead of wetting the decals for the dials I left them on the backing paper & with a bit of thin double sided tape stuck to the main firewall when I positioned it in place it would match the effect on the instrument bezel.
Now for a bit of extra modding on the firewall. At the top left hand side is the junction/fuse box for the car & there is plenty of space to do some work here. Tthe first stage was to cut two 1.5mm holes in the bottom for where the main positive & negative wires come from the alternator/ battery into the box. I drilled a 0.9mm for a common return black earth wire for the instrument panel.
All that was needed was a 1.9mm hole for a series of coloured wires to go to represent all the dash controls to be drilled in the side of the junction box. I have some old 6 core thin phone extension wires that will do great for this effect. It is up to you where, on the top of the firewall you want the wires going into the bezel.
For the main cable I use heat shrink on the black & red to resemble a harness & pushed them into place & give a 3cm extra for bending into the chassis as if it was a harness coming from that area. To give it support I drilled two very small holes to get thin copper wire through making a “cable tie” by twisting it behind the firewall where it would not be seen in the finished model. It’s a simple job but the results are well worth it…
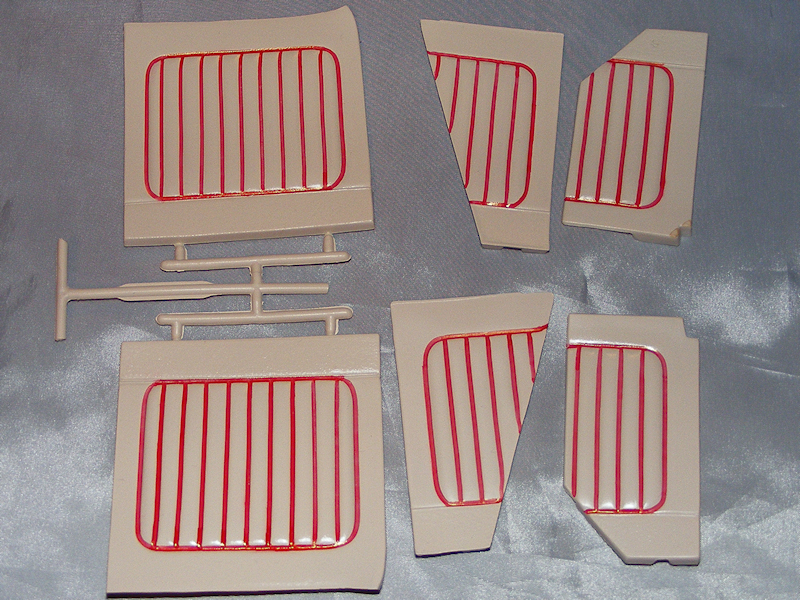
It took me a bit of time to think what would be a good interior colour for this model as it was a matt red then looking through some old custom car magazines I saw one with a cream leather interior. This was just what I was looking for and the interior panels also looked right for some stitching/piping effect. I found my local Halfords had a colour called Ford ivory that would do the job for the panels & also for some other body parts later. I gave them a coat of grey primer & then 2 coats of the ivory. For the piping I could have used a fine brush & a very steady hand, but I had on my PC bench a set of markers used for cd’s & the red one on a test piece gave me a very close colour red but more importantly it fitted just into the panel recesses & was washable till dry. All I had to do was run the pen down the grooves in one motion & then do the outer part. between each pass I had a damp cotton bud (Qtip) that I used for any stray red going where I didn’t want it.
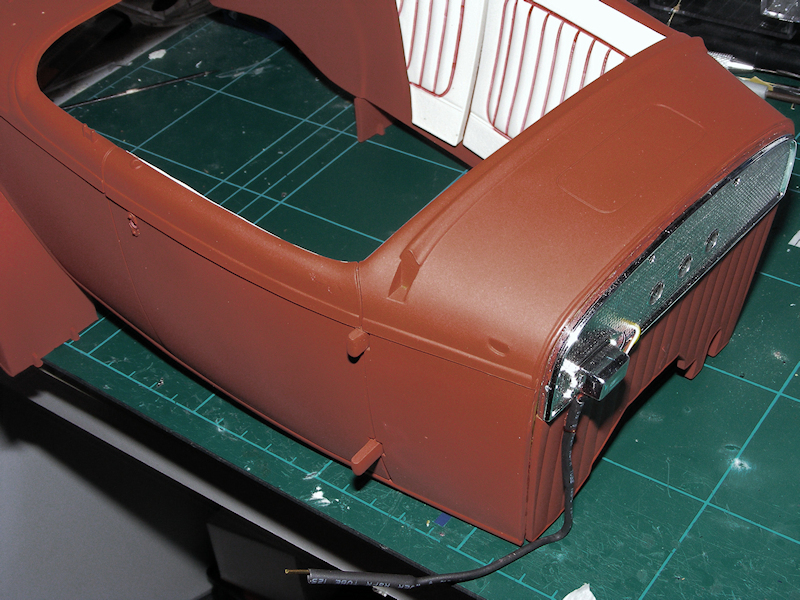
As mentioned in the previous page this kit looks like it has an option for opening doors, so before I put the interior panels in I fitted the interior part of the door lock (part 11) but not the outer chrome handle for now. So as not to damage the paint surface of the body or panels I used a cloth between the clamps & the surfaces while each set of body panels went in.
I started with the middle main door panel as this is the one people will see more & I needed to get the alignment right to the top of the body panel. When dry I did each pair of panels in turn again using a cloth so not to damage the paintwork. The firewall sits in a recess in the body so I just needed to scrape some of the paint off to give it a good bonding surface & glued it in. After a couple of hours I turned the body upside down & ran a bead of glue on the back edge of the firewall to to aid in making a very solid bond.
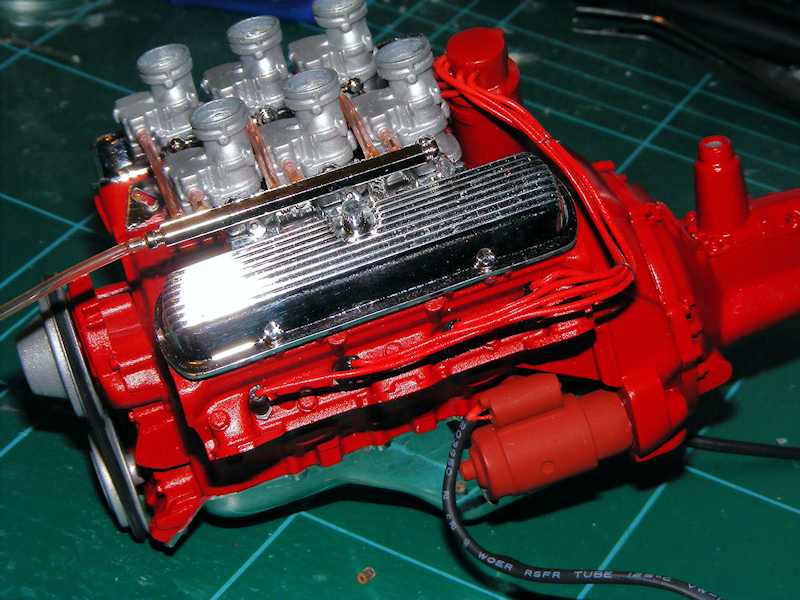
Now let’s get back to the engine & finish most of the detailing. One of the 1st jobs was to de-chrome the carburettor intakes & glue the together. Only a small amount of filler & filing was needed on the joins before the standard primer & Halfords Moondust Silver finish was sprayed on them all.
While the carbs were drying I painted the spark plugs in white & the tip with matt aluminium paint & fitted them into the mounting holes in the engine block. I sprayed the distributor in the same flame red as the engine block before feeding the measured ignition wires through the correct holes. This is so that I got a good finish between the small ignition wire holes & also all I need to do is a light touch up on the joins after sanding the main joint. The whole unit was then glued to the top of the engine & allowed to set.
This is where I started some more engine detail by making the starter motor & after a light sand sprayed both this & the alternator in red primer. These parts will look better with some actual wiring, so I drilled 2 1.5 mm holes in the back of the alternator & made a small harness with black & red wires like the one on the firewall & fitted it to the back of the alternator.
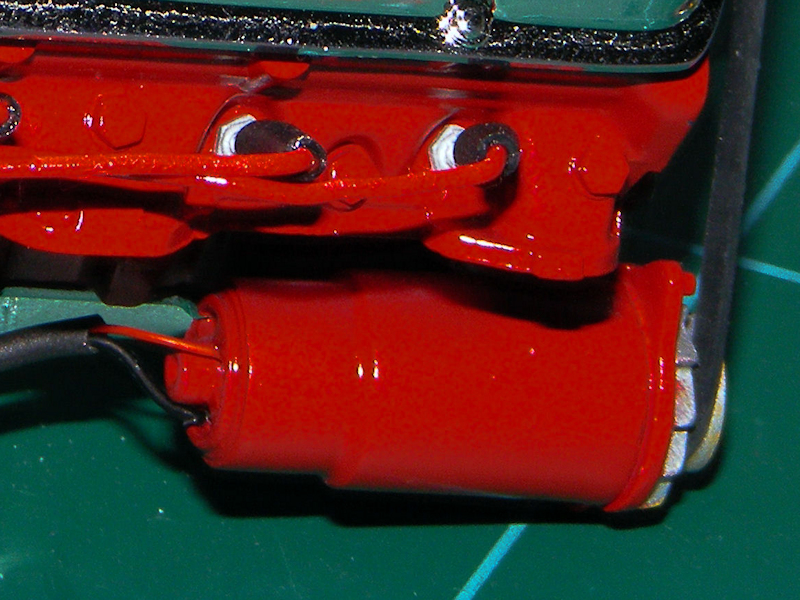
The starter motor had a 0.9 mm hole drilled at the top solenoid “lug” sticking out in the moulding & a 0.5mm hole in the lug below it. I made a harness with one 0.8mm red wire & one 0.4mm red wire & fitted it into the starter with a small bit of superglue to secure them.
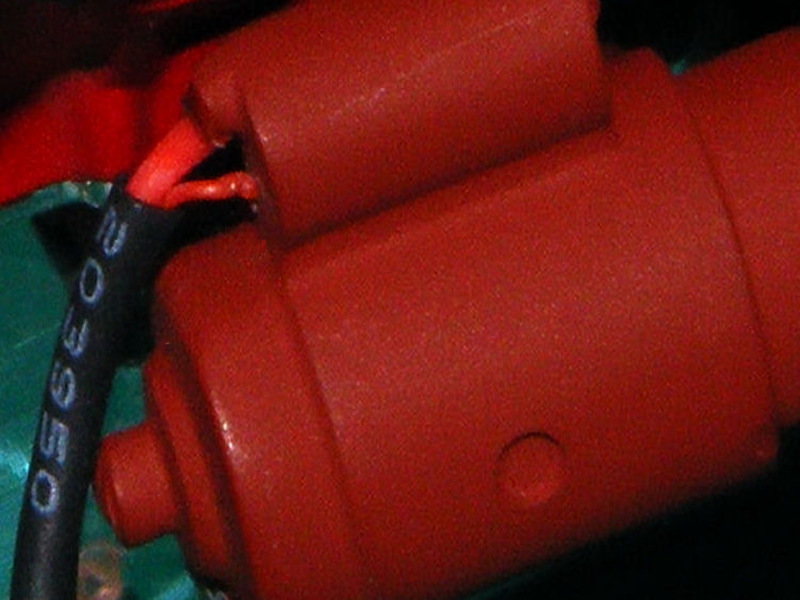
Both the starter & alternator were then put on the engine. Following the wiring guide in the instructions I cut small pieces of tubing for the spark plug tips & then trimmed & fitted each wire in turn onto the spark plugs. When these had been done & tided up the 2 sets of ignition cables with a thin piece of copper wire top act as a cable tie & placed the wires neatly by the spark plugs.
The fuel lines were cut to length & fitted to the fuel rail. These lines were carefully pushed onto the mounting pins of all 8 carburettor. Please take care as the pins are fragile & use minimal force!
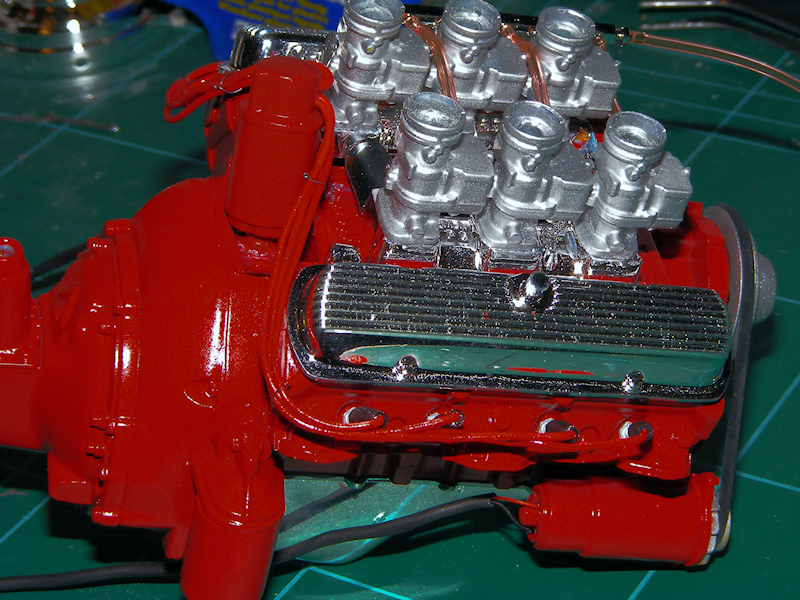
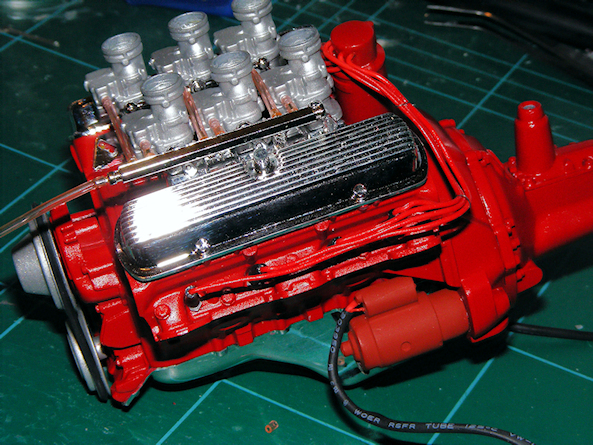
Here’s a left hand side view of the additional painting together with the extra engine wiring.