Revell Babylon 5 Starfury-03
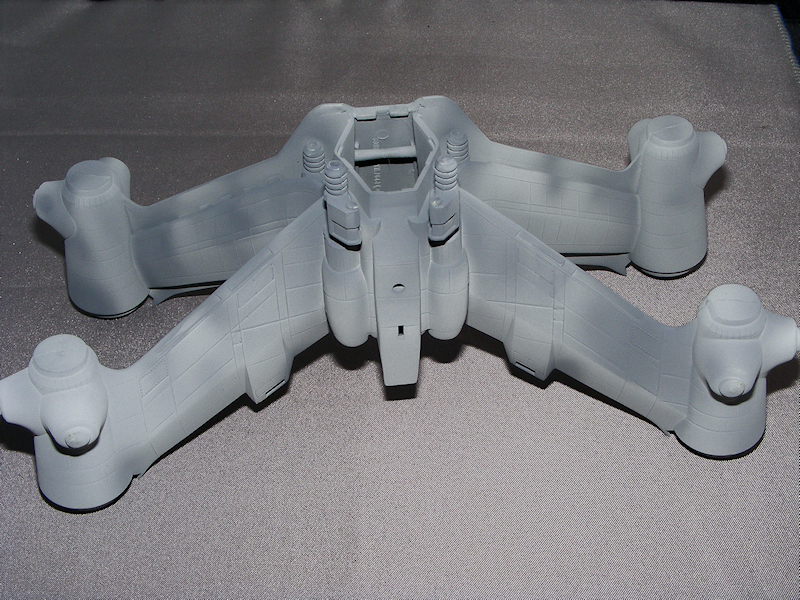
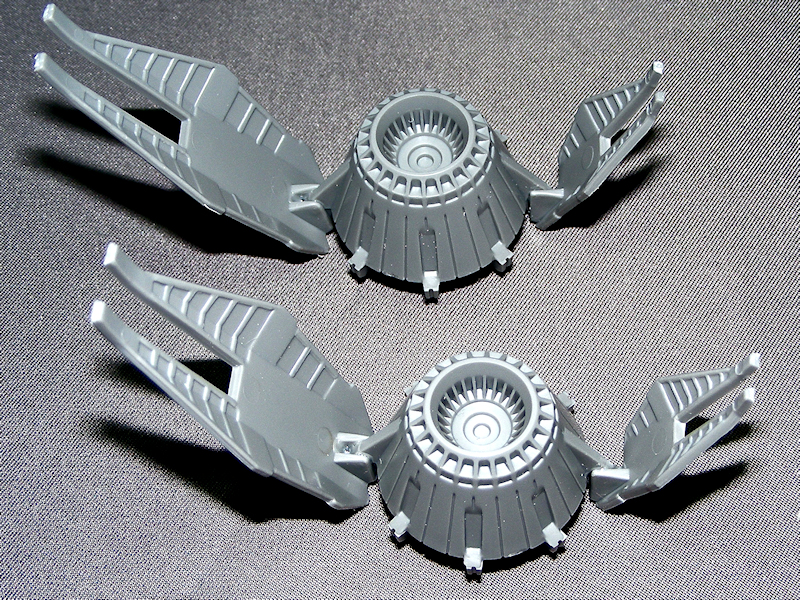
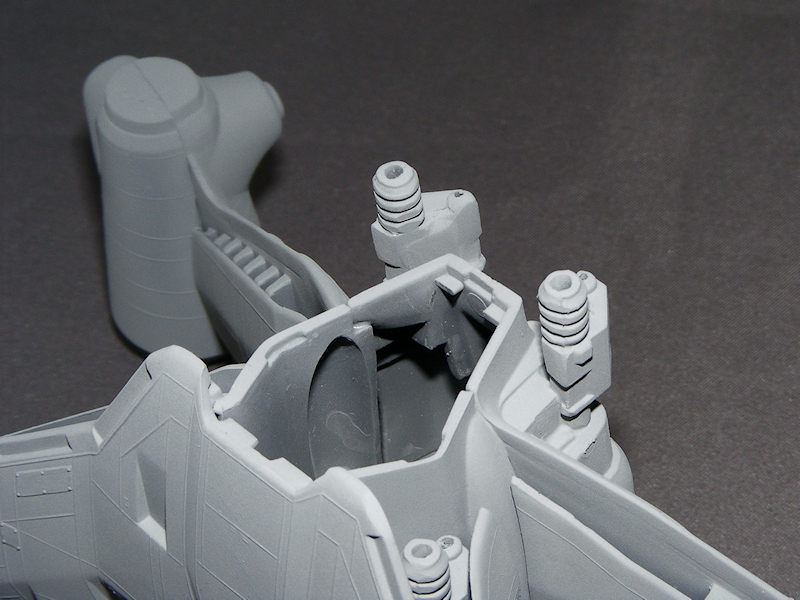
While the wings are drying, I moved onto assembling the rear exhausts. Each exhaust unit consists of three parts: the nozzle, one large vane, and one small vane on either side. I Began by fitting the larger vane over the mounting pin and allowing it to dry, then glued the smaller vanes to the other pin, positioning two on top and two on the bottom, depending on their final placement.
For painting the exhausts, I used Humbrol “Gun Metal.”
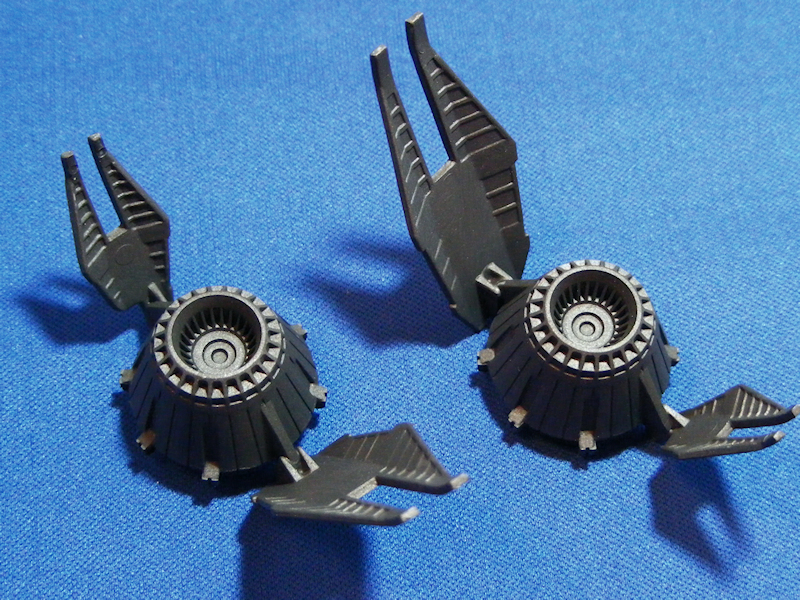
Once dry, and to bring out the moulded details I highlighted the nozzle lines with a black fine marker, then dry brush with Humbrol “Polished Aluminium” to bring out the edges.

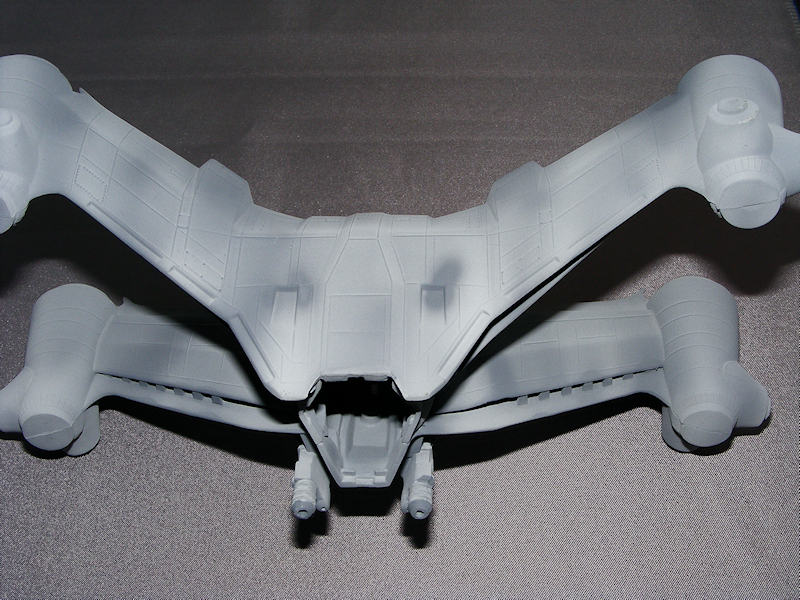
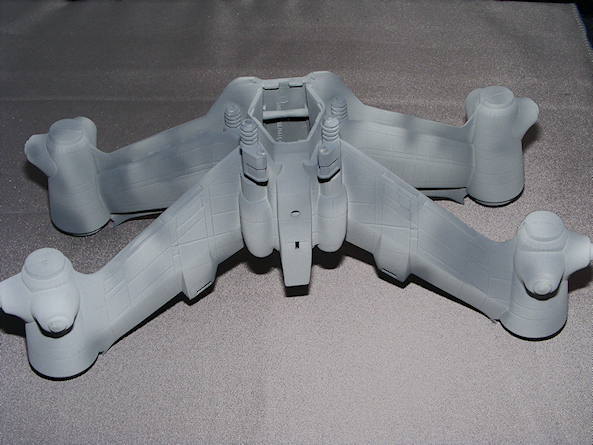
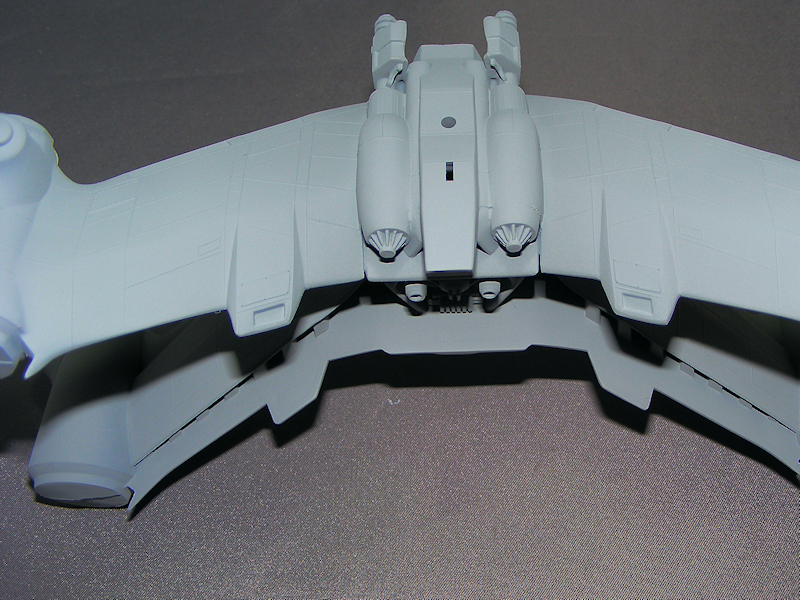
With the upper guns and wings dry, it’s time to assemble the fuselage. I put glue along the join line at the top of the fuselage and clamped the top wing in place. Ratchet clamps are ideal, as they provide just the right amount of pressure without damaging the model.
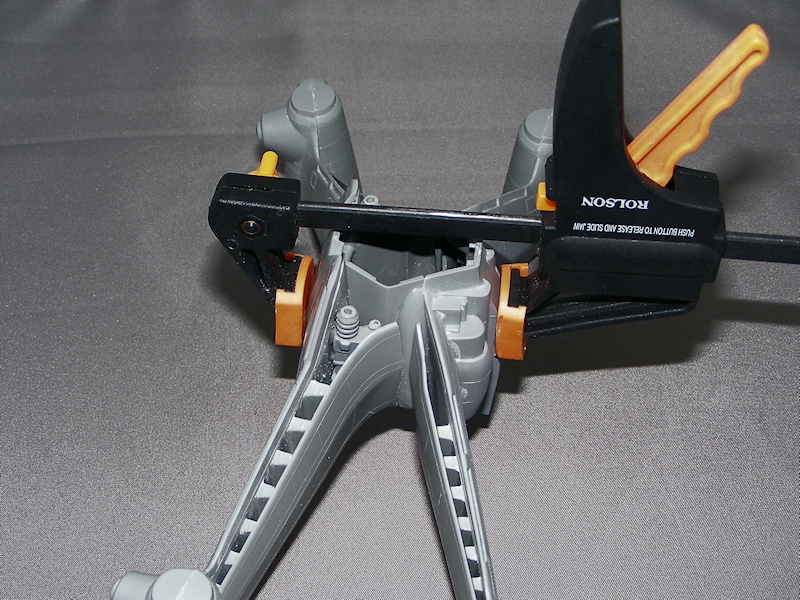
If, like I found with mine, you notice a large gap between the rear fuselage and top wing, plug it with plastic card, apply glue, and let it dry, then give it a rough sand. Finish by applying filler and sanding to match the wing profile. This step is vital for a seamless, professional look.
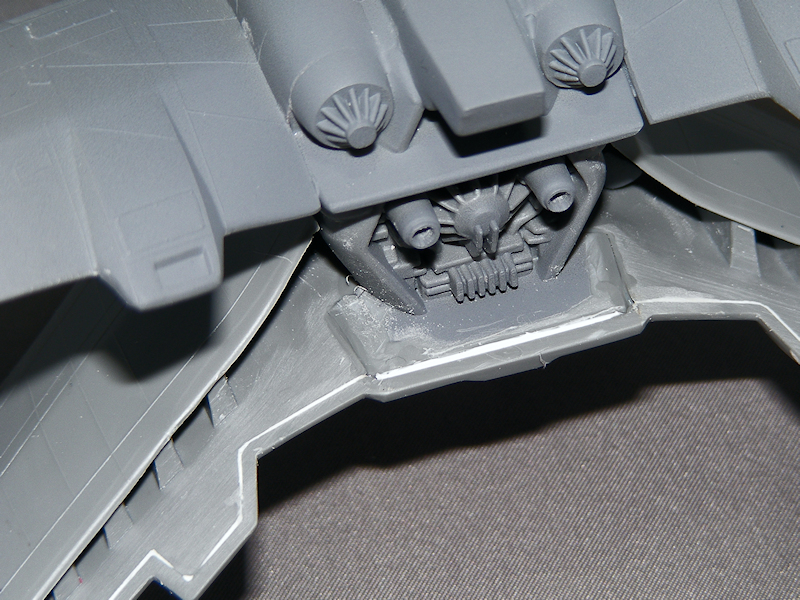
Remember the lower guns I worked on a long time ago, well it’s time to fit them. They were glued the lower guns to the fixing points on the lower fuselage and allowed them to dry. This step is straightforward but essential for the Starfury’s distinctive appearance. Double-check alignment and fit before the glue sets to ensure everything looks symmetrical and true to the original design.
It is now time to start on the painting of the “Starfury”. I gave the whole kit a light coat of Halfords Grey primer to start with. This allowed me to see any parts of the kit that would still need some sanding & filling work, and there were just a small couple of places that needed a bit more work. The kit was wet sanded with a fine sanding stick, cleaned, then another coat of grey before it was allowed to dry.
The kit then had the base coat of Humbrol “Matt Light Grey” sprayed all over. When this was dry I thinned some more Light Grey paint & added some matt black to give a darker shade. Using a finer setting on the air brush and a 0.2mm needle I sprayed from mainly the front of the wings & front surfaces a light coat of this colour in various places to give a slight “weathered or quick repair” paint effect.