Lindberg 1/8 scale Exterminator dragster-04
The front axle comes in 2 parts & the wheel hubs come in a upper and lower piece of plastic sitting on pivot pins.
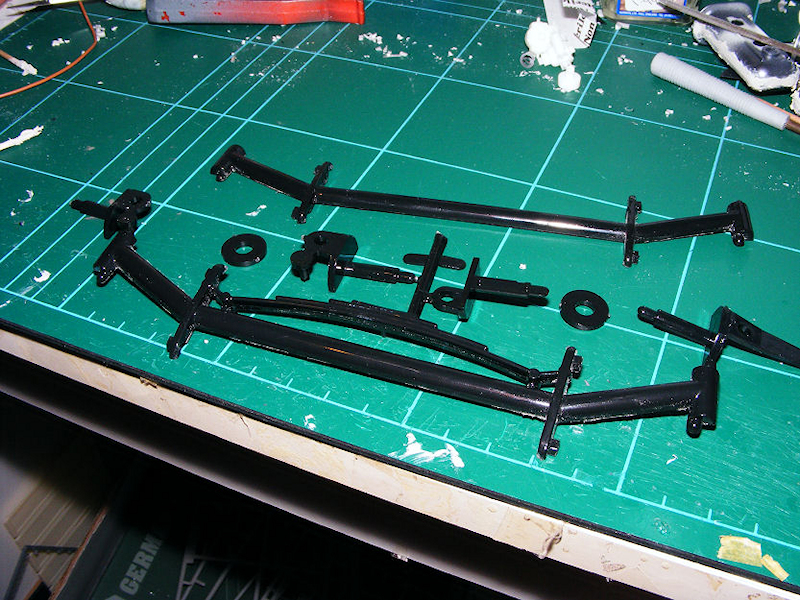
The main axle was done 1st & a small amount of sanding was needed on the joins. The wheel hubs were glued on, allowed to dry & then the spacer (130p) was placed to move the front wheels out a touch when they go on. The whole unit was sprayed in grey primer then Moon dust silver to match the gearbox unit made earlier.
Section 9: Engine Fuel & Ignition Lines
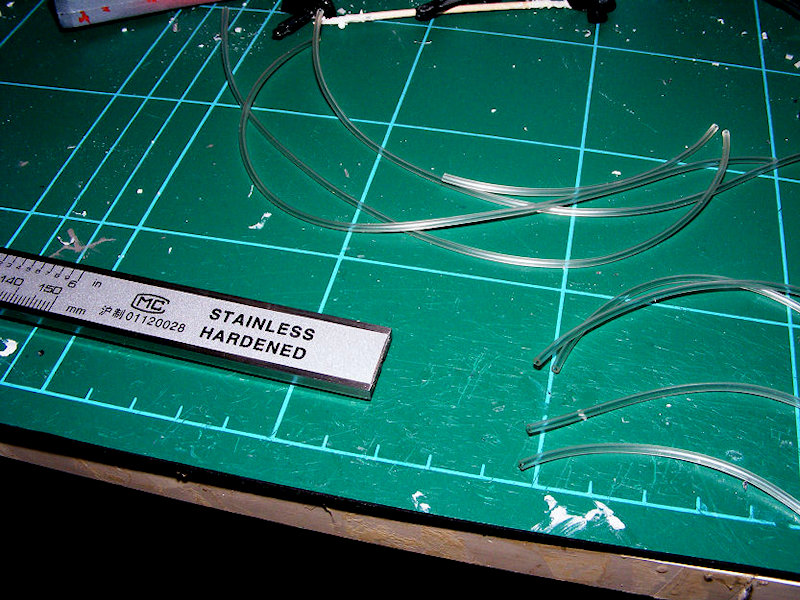
Now for the fuel and ignition lines. The instructions suggest fitting fuel lines after installing the engines, but I found the gap too tight for that.
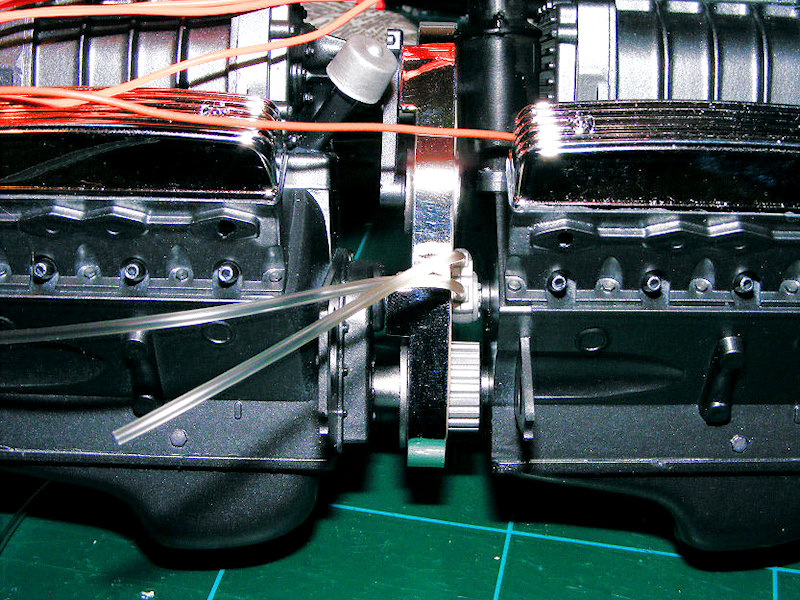
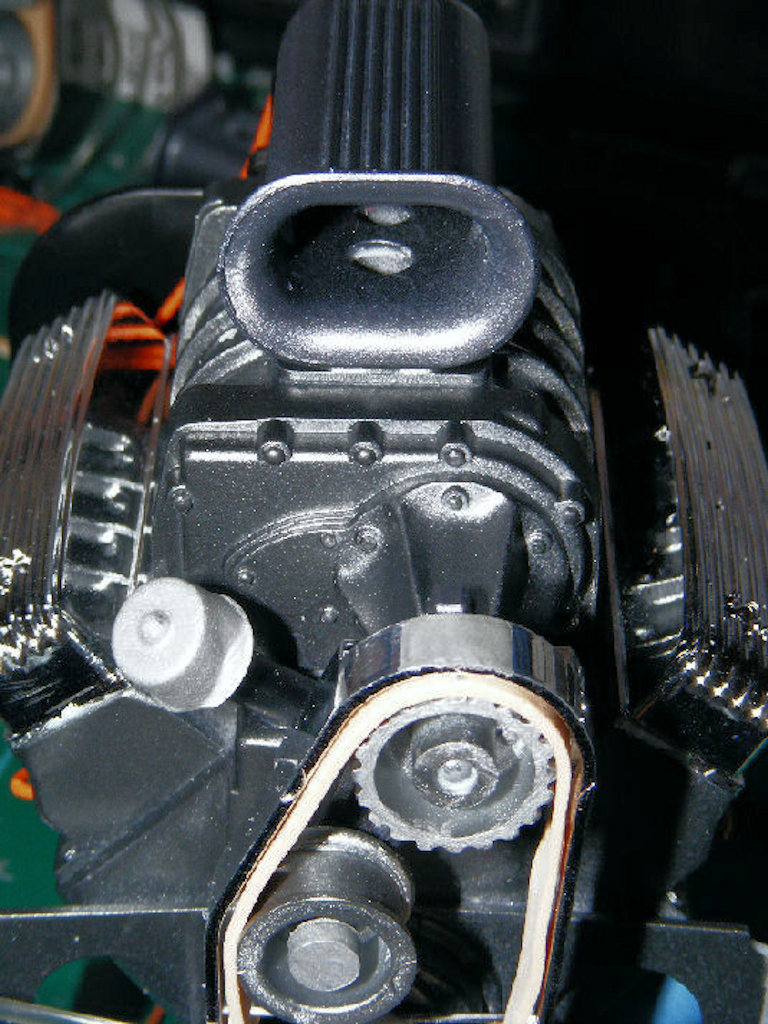
My first task was to test fit the drive belt cover on both engines & attach the pulleys for the supercharger & drive shafts.
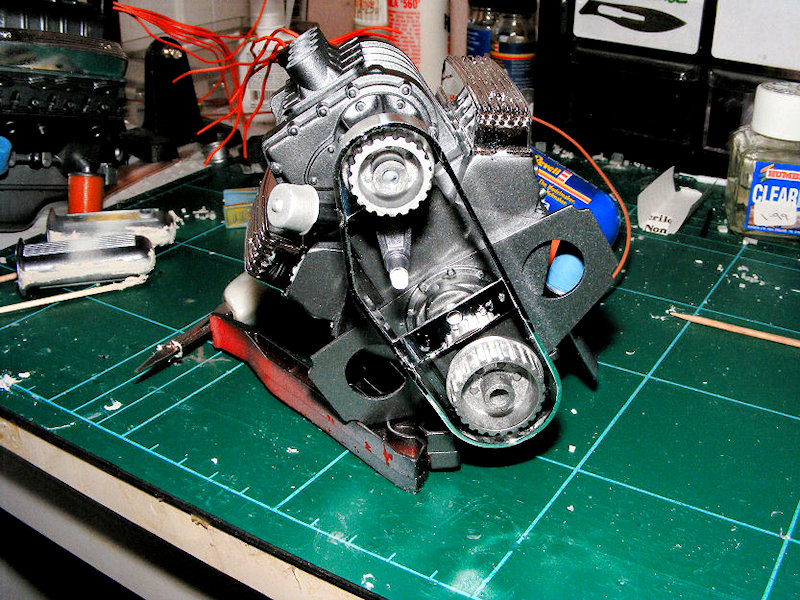
Now that the pulleys have fully set, the next stage was to fit the white pulley belts in place, then fix the pulley covers in the mounting points, I now know that the belt will not look like they are catching on the covers, and just another bit of realism in the engine’s build.
Fuel pumps are the next part to go on the engines, and I measured and cut the clear piping for the fuel pumps, ensuring clean cuts for a snug fit.
You can just push these tubes on but in time or when doing other work they could fall out, so a small amount of super glue does the trick. Please also be carefully as to which tubes need to go on the front or rear engines so when you fit it on the lengths will be right ( don’t laugh I have heard of it being done & then you are knackered) . I highlighted the fuel pump bolts with gunmetal and glued the pumps to the engines.
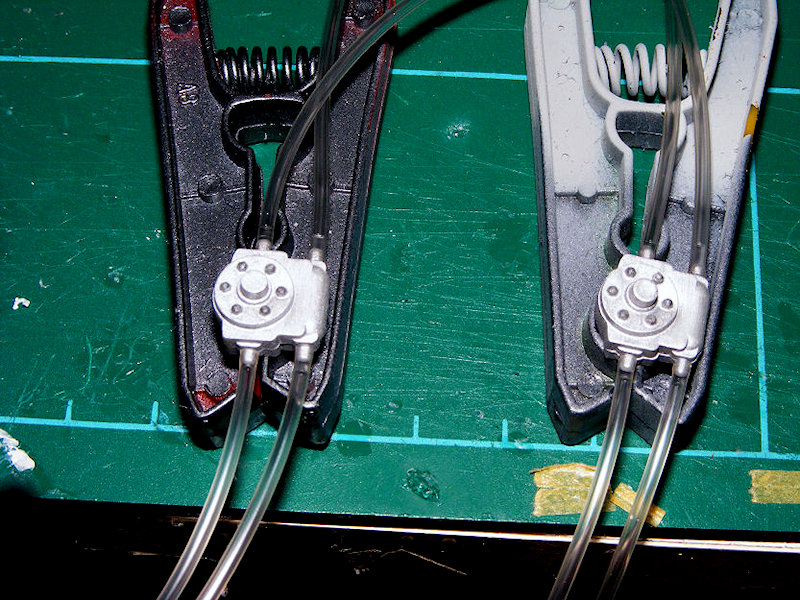
I then glued the fuel pumps to the engines. As you can see below there wasn’t much clearance when & did another test fit for the pipes on the rear engine to sit.
The ignition wires were finished off as per the instruction diagram to add realism on the spark plug firing sequence. & to keep them tidy I used small bits of twisted thin wire to act like cable ties.


As you can see below the earlier work on the scoop does allow you to see where air will be forced down into the superchargers.
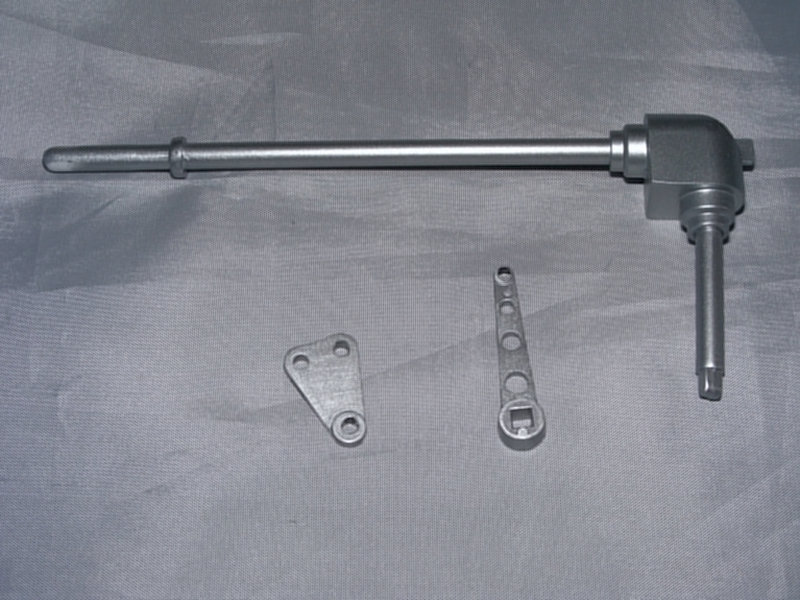
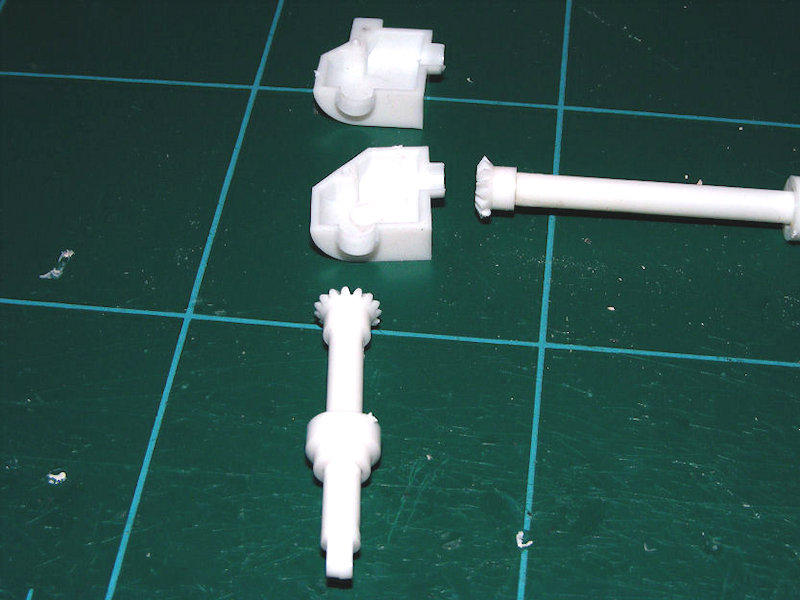
This kit has got working steering if you wish & the movement from the steering wheel goes through a steering box. The box houses the steering rack & a gear turning at 90 degrees to allow an arm to move forwards and backwards. This is an easy build to do but make sure you do not get glue on the shafts as this will stop them from turning. I find a quick turn every few hours will stop this.
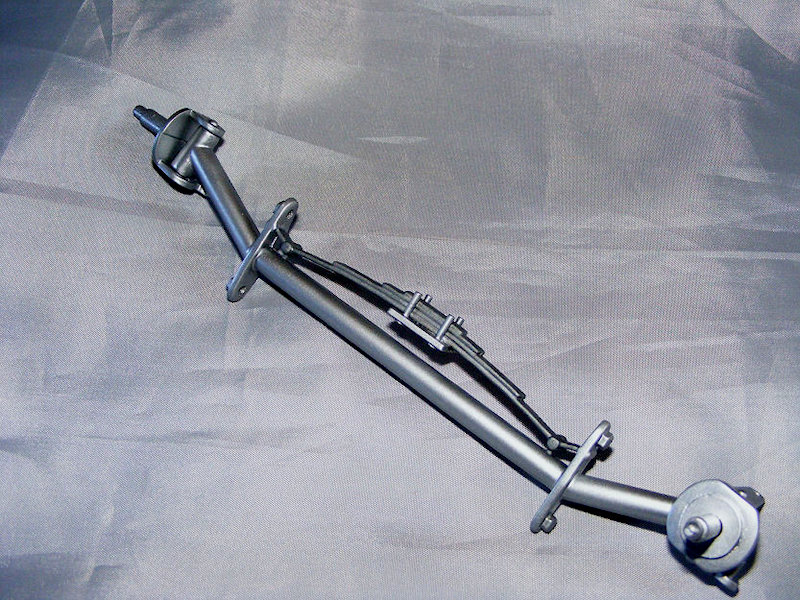
The steering rack & the de-chromed rocker arms were painted like the front axle units. I highlighted the actual leaf springs & bolt with Gun metal as the springs would be made from steel, but it might not show up in the picture very well, then put on one side for later fitting.