Monogram 1/16th Peterbilt 395-02
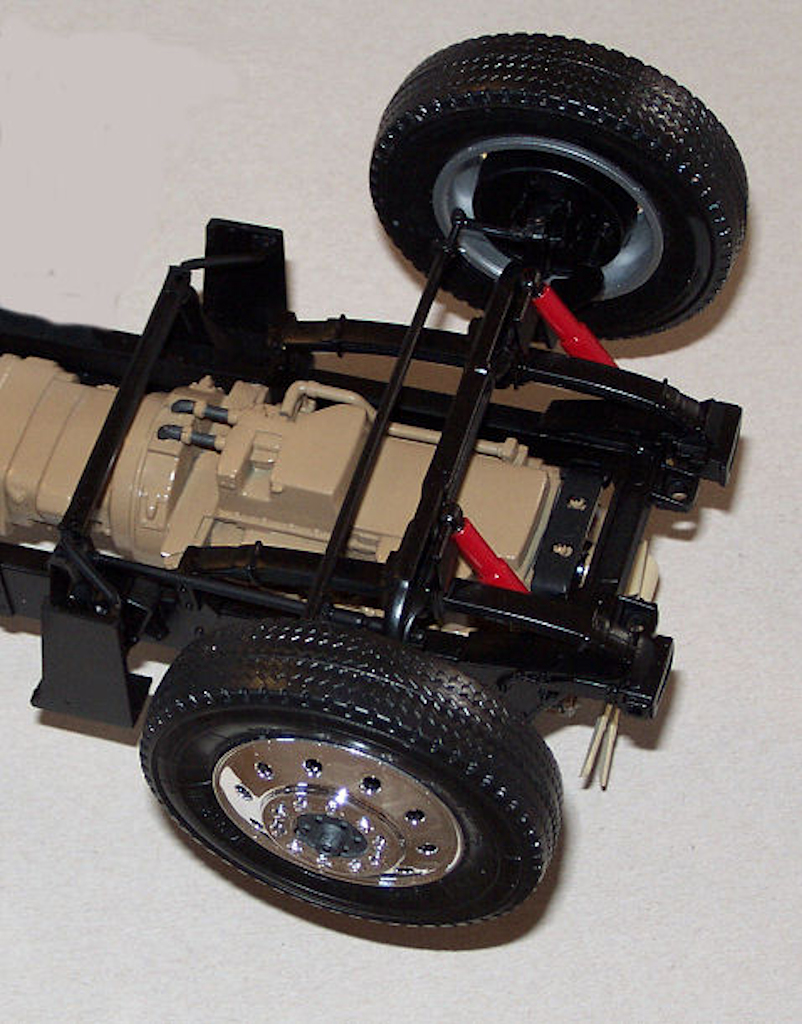
Back to the chassis of the Peterbilt 395 with me fitting the front leaf springs & power steering box then left them to set. The front axle, brakes, steering link arms & power steering links then the cab mounting & cross bar were sprayed black to match the chassis. From working on trucks I know the leaf springs & bolts would be a different type of metal, so these parts were done in a mix of Gun metal & matt Dark Grey.
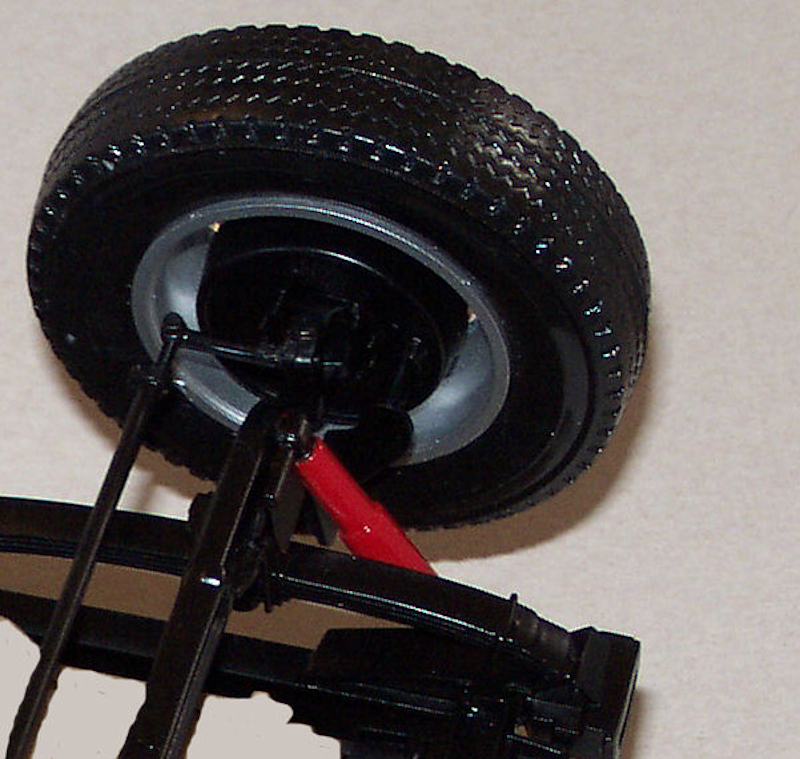
Shock absorbers usually come pre powder coated, so I did mine in red and for detail the rubber mounting bushes and fixing points in Black, and fitted them to the springs and chassis before fitted the front wheels.
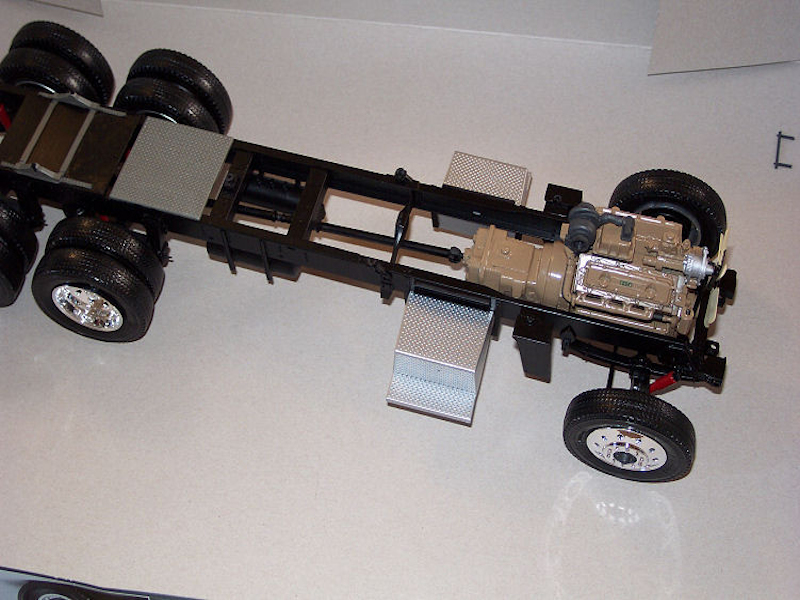
When all of these parts had set I turned the chassis back over to mount the engine. From the picture below you can see where the engine rests in the chassis.
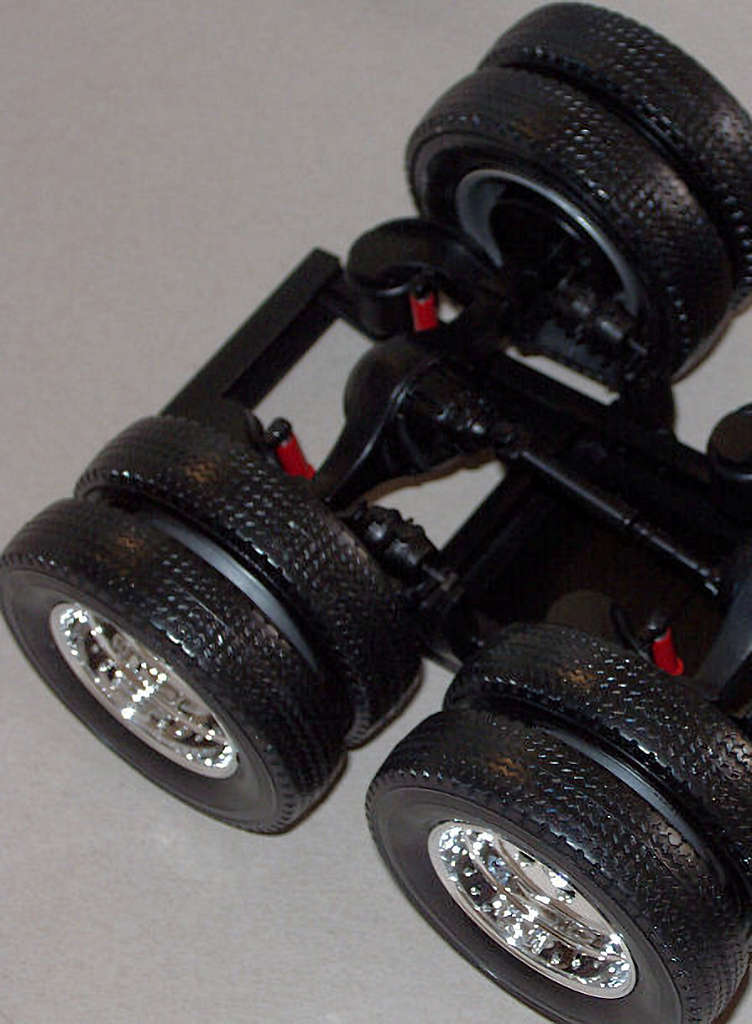
Both of the rear axles were built & sanded down to remove the seam lines, then the rear hubs & airbrakes were painted and fitted. This Peterbilt’s rear suspension uses air bags and these were glued together and sanded ready for painting. Truck airbags are made from rubber, have a slight sheen to them and are not painted with the rubber having to move, so to represent this I used Satin Dark Grey. I then fitted the air bags & rear axle mounting bars and finally the rear shock absorbers.
I found it easier to fit and glue the rearmost rear axle first, so when set I just needed to fit the drive shafts between front rear axle and the large engine drive in one go.
While the axles were setting I made the battery boxes/steps and the top footplates in matte Aluminium.
The rear area by the the “fifth wheel” will get a lot of wear and knocks so I painted it, and the fifth wheel mounting bars in Dirty Steel”. There are 2 air tanks that sit inside the chassis, and I did them in Satin Black. Now you have a rolling chassis ready for the cab to be built & fitted.
With this being a 1/16 scale kit you could really do a lot of scratch building of the air piping for the brakes and rear airbag suspension if you had the time and diagrams of the pipe layout. If I ever get my hands on one of these kits again, and learn how to work with metal, it is something I would love to achieve.
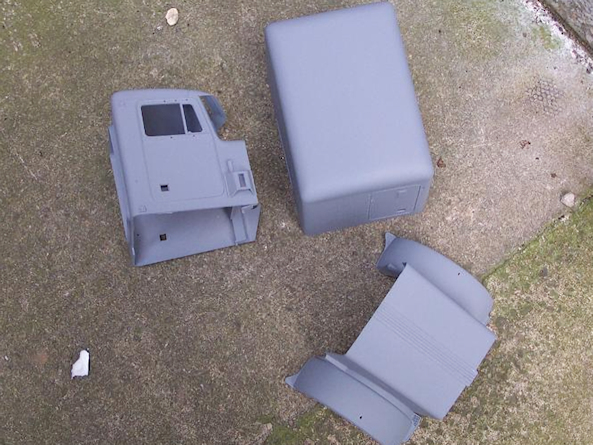
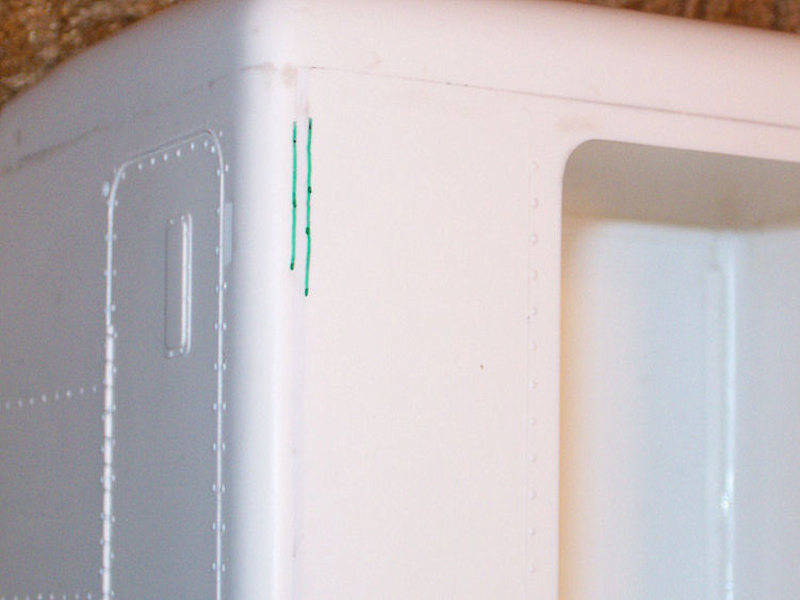
The cab for this kit is large & I was looking forward to building & spraying it, but it it took a lot of work to get it right. I started with the “sleep over” unit as that is where the problems started. When test fitting I noticed that the two main panels were warped & would leave large gaps so I glued the whole unit but allowing the imperfections to make sure the unit was level & straight so to the fixing the “Box”.
On the rear panel of the unit it had small gaps at the top & RHS that could be filled & sanded but it was the other side that was to take a lot of time.
One side was completely out of shape & had a 1mm gap so I put some plastic strip in to start with to fill the worst of the gap (to see the size I marked it in green pen to show you).
All the joints were then filled , sanded and re-filled to make sure no minor air gaps were present.
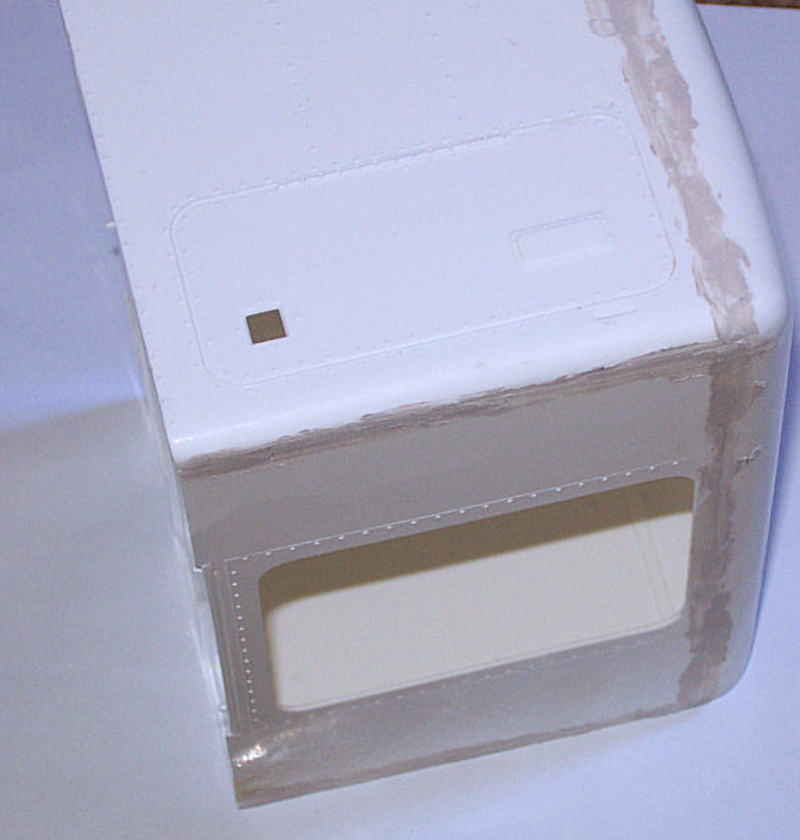
After this was sanded again so at last it looked right & smooth ready for priming and top coats. After all the “fun” of filling & sanding the sleeping cab it’s now time to get painting the cab & bonnet. I first used three fine coats of primer, sanding & cleaning after each one to get a good base coat to completely fill any minute holes or blemishes that will affect the shiny top coat.