Lindberg 1/8 scale Exterminator dragster-03
The front cross members were held with tape allowing me to adjust the tension better to stop the chassis setting with any twists.
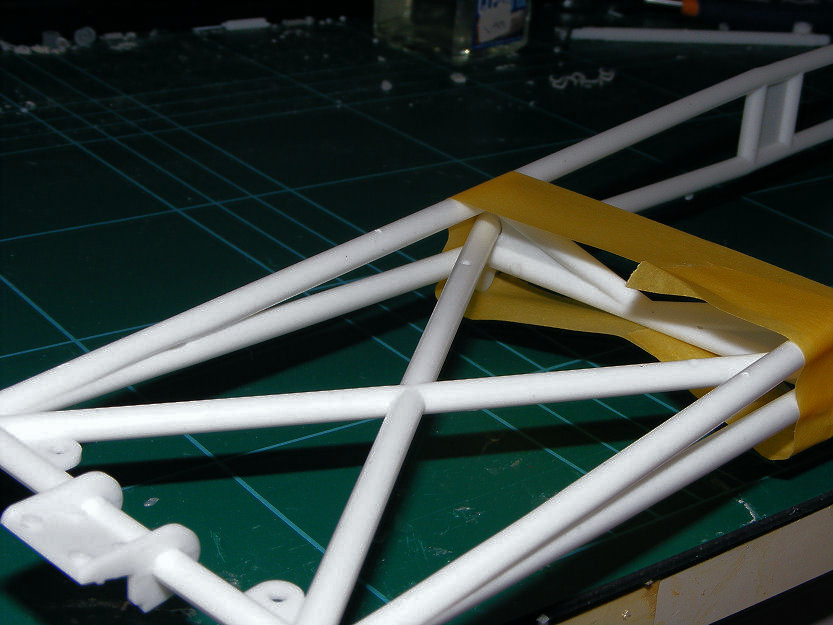
When this portion had set I glued on the rear beams. As you can see in the picture I found twisted thin wire was best to get the tension on the unit.

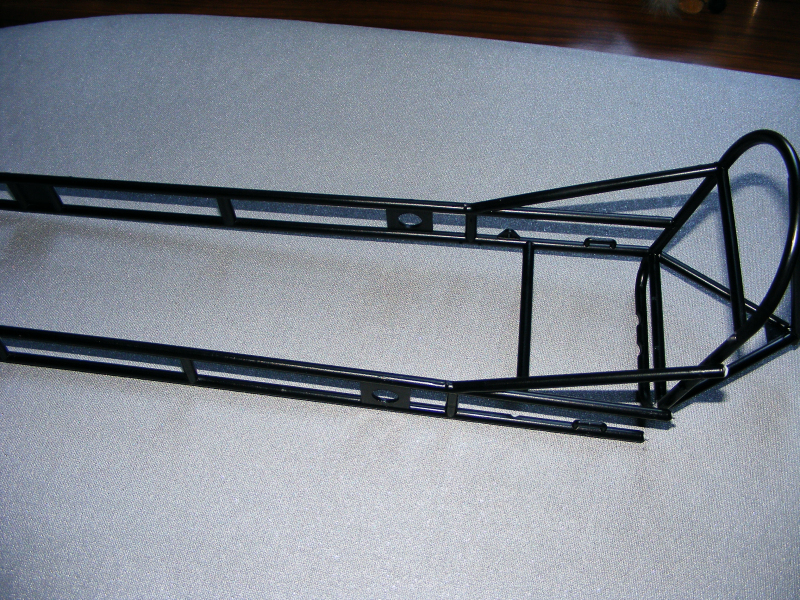
When dry the whole chassis was sprayed in Halfords Satin Black. This will now allow me to fit the engines & differential and only need to do a small amount of touching up of the chassis paintwork when needed.
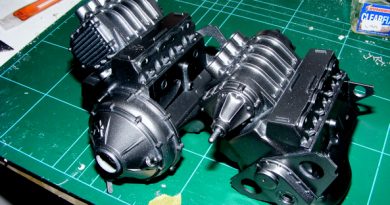
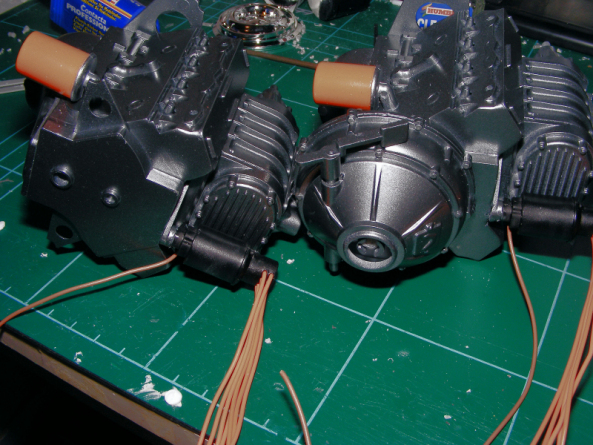
Back to the engine again now & fit the oil filters & distributor. The oil filler had been chromed for some reason (NO!!!) so this was de-chromed & painted in Humbrol bright orange.

The distributors are a 2 piece unit with the ignition wires coming from the top. As the gap around the wires is very small to paint around I found it best to spray the side where the wires come out, fit the 4 sets of wires as the instructions say then glue on the 2nd half. Some filler was needed on the joins as they were out of alignment.

When this had been sanded, it was just a case of masking off the wires and giving it another spray coat to match up the finish. The completed distributor & oil filters were now fitted to the engine.

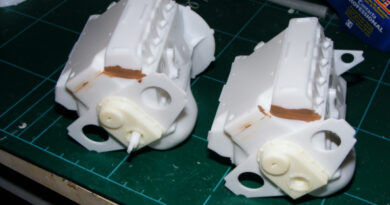
Both engines have air scoops on the top, but as they are very obvious on the car the fact they are solid doesn’t look right to me. It’s time to break out the drill gear & make the 4 inlets. Looking at the underside one of the inlet holes is used as a location point, so all I had to do was use a marker pen & go over all the 4 inlets on the top of the supercharger then rest the bottom of the scoop on it & press down. This put some of the marker on the base so I could gauge where the pilot holes needed to go.

The 4 holes just needed drilling out it to just below the diameter of the inlets. The insides of the scoop were then sprayed the same colour as the engine, allowed to dry then the top part of the scoops put on. This is because it will be near impossible to get the spray right into the scoop if I had not painted the inside first. Some more filler was needed on the outside of the scoops.
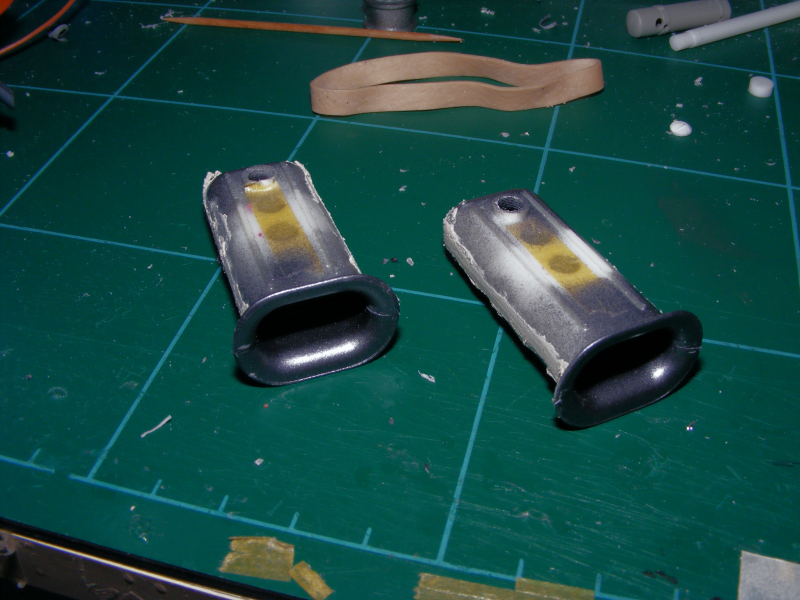
It took two sessions of filling, sanding and painting to get a smooth appearance. The scoops were put safe for later.